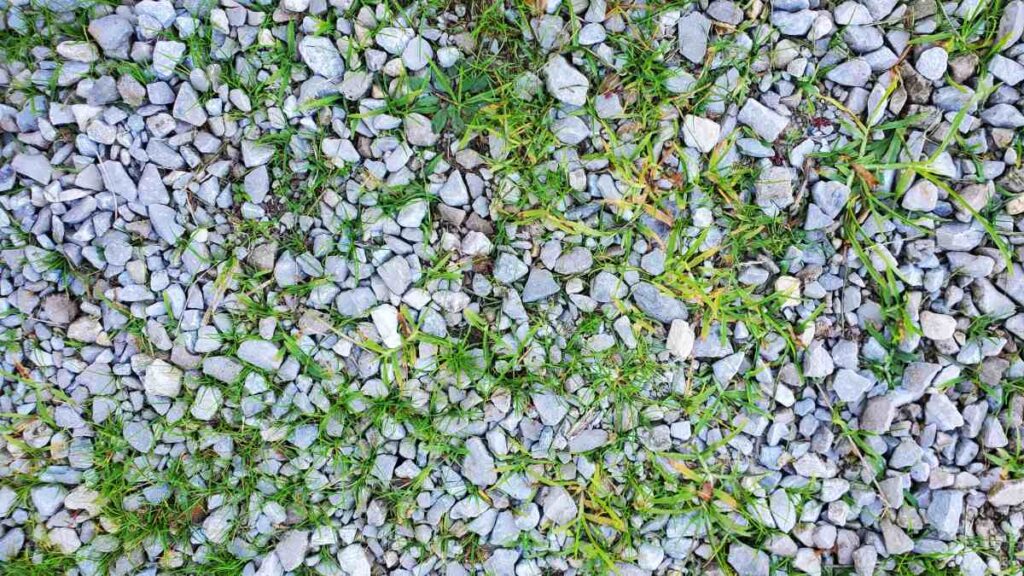
A gravel driveway has many advantages—it’s affordable, permeable, and has a charming rustic look. But one major drawback? Weeds. From pesky dandelions pushing up between the stones to stubborn grasses weaving their way through, weeds can quickly turn a neat gravel driveway into a messy, unkempt eyesore.
Unlike paved surfaces, gravel offers just enough gaps, soil, and moisture for unwanted plants to thrive. If you’ve ever felt like pulling weeds from gravel is a never-ending battle, you’re not alone. Luckily, with the right strategies, you can manage weeds effectively and keep your driveway looking clean.
Here’s a detailed guide on why weeds love gravel, and the best ways—both preventative and corrective—to tackle them.
Why Do Weeds Grow in Gravel Driveways?
Gravel driveways may seem tough, but they actually create a favorable environment for weeds.
- Soil pockets: Dust, dirt, and organic matter build up between the stones, creating mini soil beds.
- Sunlight access: Unlike dense pavement, gravel leaves enough space for seeds to sprout.
- Seed spread: Wind, rain, birds, and even car tires introduce new seeds constantly.
- Moisture retention: Rain filters through gravel, nourishing any hidden roots beneath.
Because of these factors, controlling weeds in gravel requires both proactive prevention and ongoing maintenance.

Step 1: Remove Existing Weeds Properly
Before you can prevent weeds, you need to deal with what’s already there. Half-measures often lead to regrowth, so be thorough.
Methods for removing existing weeds:
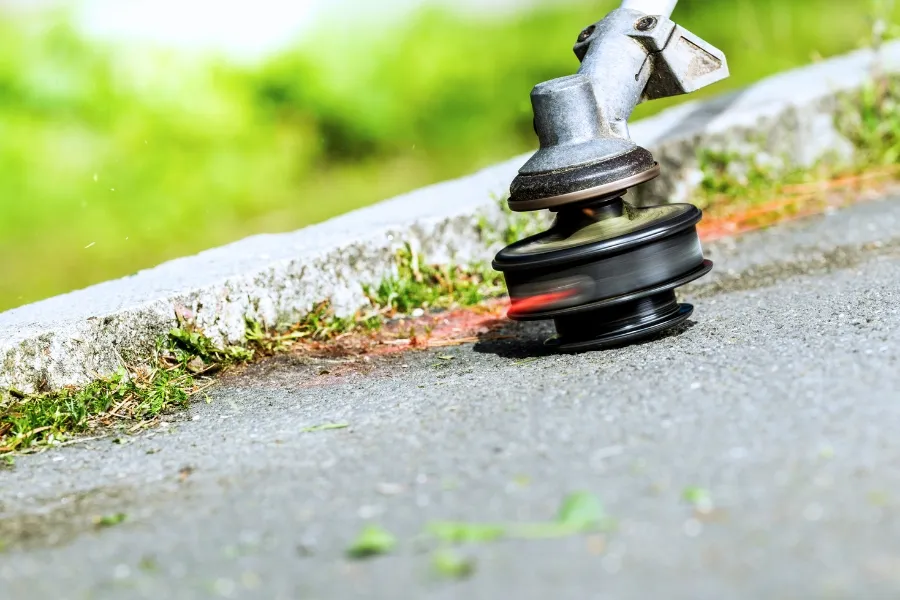
- Hand-pulling: For small patches, pull weeds after rain when the soil is soft. Grip from the base to remove the root.
- Hoeing or raking: Loosen gravel and slice weeds off below the crown. Works best for shallow-rooted weeds.
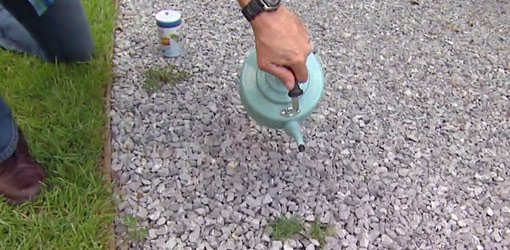
- Boiling water: Pouring directly onto weeds scalds them instantly and kills roots with repeated applications.
- Natural sprays: Vinegar-based solutions work on young weeds but may require reapplication.
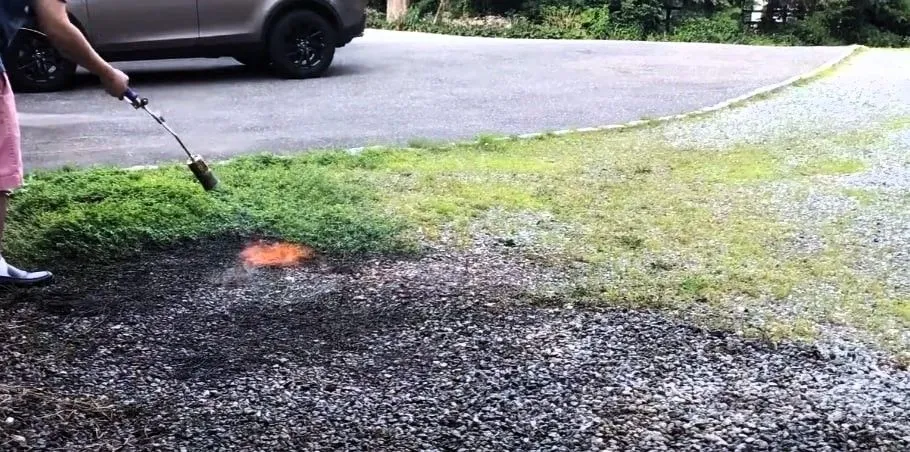
For large infestations, consider using a flame weeder (propane torch) to scorch weeds at the surface. This method is chemical-free but must be used carefully around flammable materials.
Step 2: Install a Weed Barrier
One of the best long-term solutions for gravel driveways is a physical barrier that blocks weeds from sprouting.
- Landscape fabric: Lays under the gravel to suppress weed growth while allowing water drainage. Choose a heavy-duty, UV-resistant type.
- Plastic sheeting: More durable but less permeable, which can create drainage issues if not installed correctly.
- Cardboard or newspaper layers: A budget-friendly option for small driveways, though they decompose over time.
If you’re building a new gravel driveway, installing a weed barrier beneath the gravel from the start will save years of frustration. For existing driveways, you may need to lift and relay the gravel to add one.

Step 3: Use the Right Depth and Type of Gravel
Weeds struggle when gravel is applied thickly and compacted well.
- Depth: Maintain at least 3–4 inches of gravel. Thin layers allow seeds to root more easily.
- Compaction: Pack gravel tightly to limit gaps where soil and weeds can settle.
- Angular gravel: Crushed stone locks together better than rounded pea gravel, leaving fewer spaces for weeds.
Topping up gravel every couple of years helps maintain coverage and smother emerging weeds.
Step 4: Apply Preventative Treatments
Even with barriers and thick gravel, some determined weeds may still find a way through. That’s where preventative treatments come in.
Organic options:
- Salt solution: Mix rock salt with water and pour into cracks. Salt dehydrates plants but must be used sparingly to avoid soil contamination.
- Corn gluten meal: Works as a natural pre-emergent herbicide that prevents seeds from germinating.
- Mulching with fine gravel or stone dust: Creates a dense layer that inhibits seed penetration.
Chemical options (last resort):

- Non-selective herbicides like glyphosate kill all vegetation they touch.
- Pre-emergent herbicides form a barrier in the soil that stops seeds from sprouting.
If you choose chemicals, apply sparingly and carefully—especially near lawns, gardens, or areas where runoff could reach desirable plants.
Step 5: Maintain Your Gravel Driveway
Weed control in gravel is an ongoing process. Regular upkeep makes a huge difference.
Maintenance tips:
- Rake regularly: Smooth gravel to disturb seedlings before they take root.
- Replenish gravel annually: Add a fresh layer to keep coverage dense.
- Spot-treat early: Don’t let small patches become big problems.
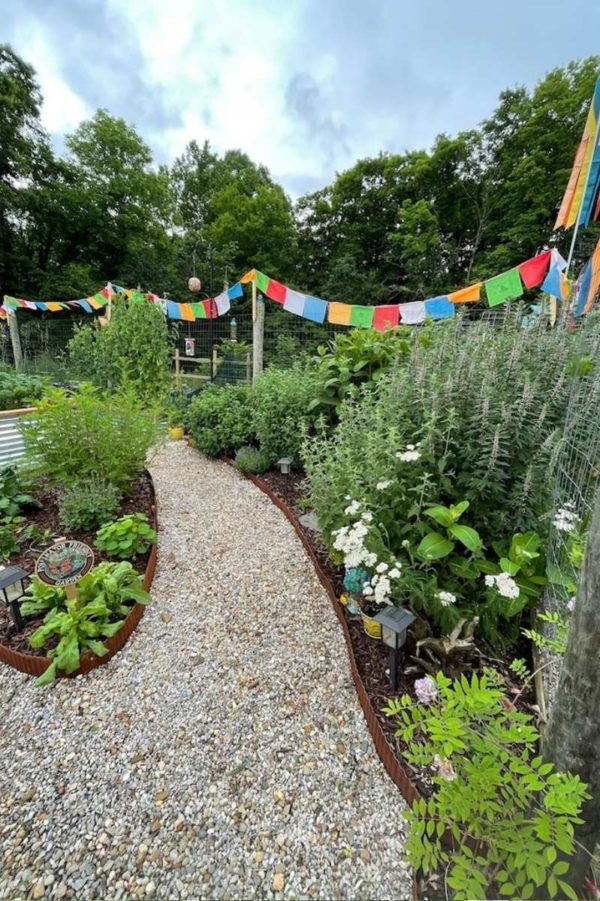
- Edge the driveway: Install borders (like pavers, timber, or metal edging) to prevent surrounding grass from creeping in.
By staying on top of maintenance, you’ll prevent most weed issues before they get out of hand.
Bonus: Eco-Friendly Weed Management
If you prefer to stay chemical-free, here are a few sustainable approaches:

- Solarization: Cover infested areas with clear plastic in summer. Heat builds up, killing weed seeds and roots.
- Vinegar and dish soap spray: The vinegar burns plant tissue, while soap helps it stick to leaves. Works best on sunny days.
- Flame weeding: Eco-friendly when used safely, since it doesn’t contaminate soil.
These methods may require persistence but align with organic and eco-conscious gardening principles.
Final Thoughts
Weeds in gravel driveways are inevitable, but they don’t have to take over. By combining prevention, removal, and consistent maintenance, you can keep your driveway looking neat and weed-free.
Think of it as a layered defense system:
- Remove what’s there.
- Block new growth with barriers and deep gravel.
- Use treatments to discourage stragglers.
- Maintain regularly.
With a little effort and smart planning, your gravel driveway can remain clean, attractive, and low-maintenance—without becoming a weed magnet.