Microgreens have taken the gardening and culinary world by storm—and for good reason. These tiny young greens pack a massive punch of flavor, nutrients, and freshness. Even better, they are one of the easiest and fastest crops you can grow at home, whether you live in an apartment, have limited space, or are just beginning your gardening journey. With the right techniques, you can harvest crisp, vibrant microgreens in as little as 7–10 days, right from your kitchen countertop.
In this complete guide, we’ll walk through the top 6 easiest and most effective tips to grow healthy, lush microgreens at home. From choosing seeds to setting up your trays and creating the ideal growing environment, this article will help you master microgreen growing like a pro.
Let’s begin your journey to fresh, home-grown nutrition!
What Are Microgreens?
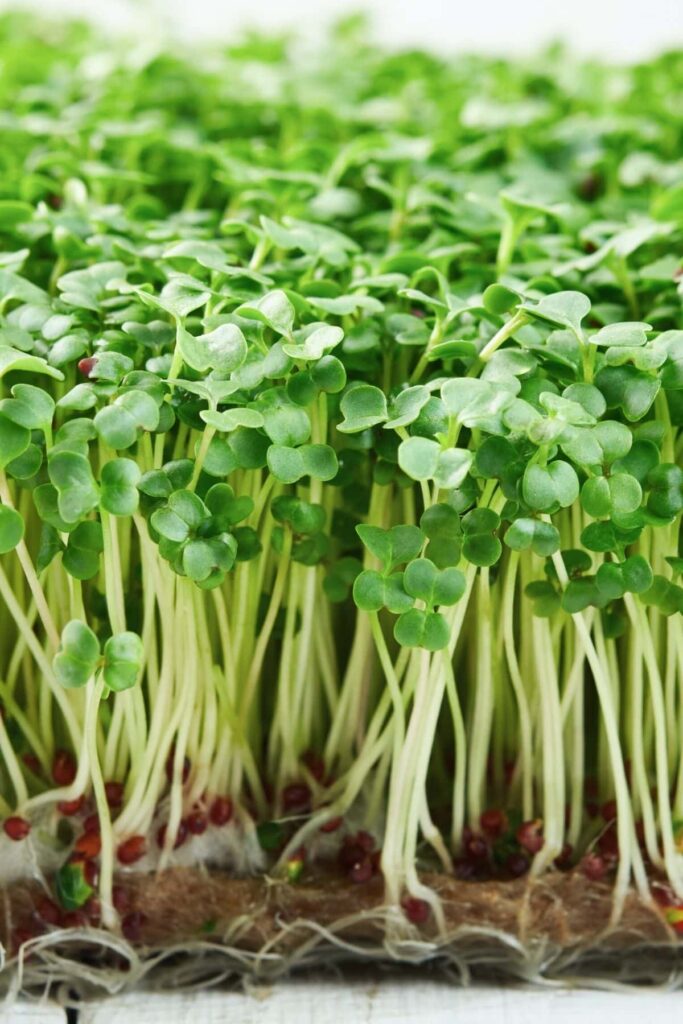
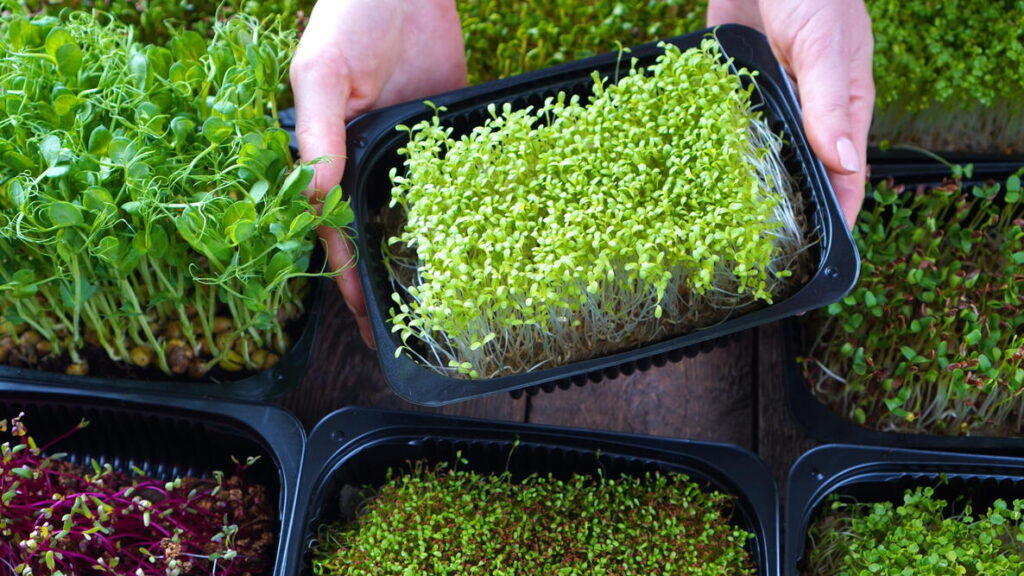
Microgreens are young vegetable or herb seedlings, harvested when they are just 7–14 days old, typically after they develop their first true leaves. They are smaller than baby greens but larger than sprouts, and they’re grown in soil or a growing medium—not water like sprouts.
Microgreens are loved for their:
- High nutrient density (up to 40x more nutrients than mature leaves)
- Intense flavor
- Quick harvest time
- Low space and equipment needs
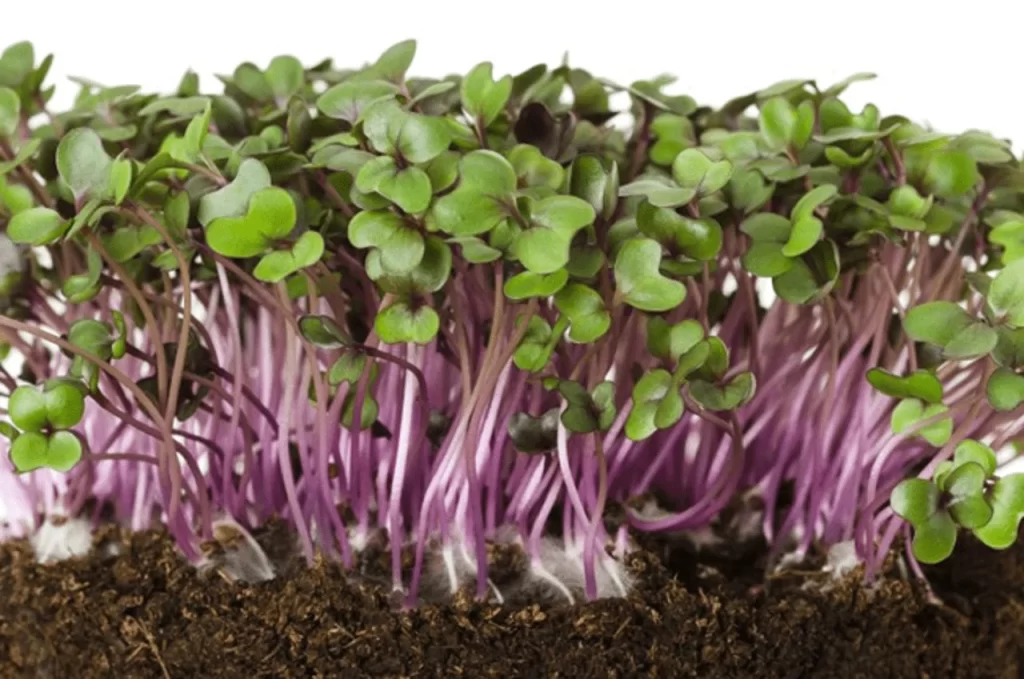
Popular varieties include sunflower, radish, mustard, broccoli, kale, fenugreek (methi), coriander, beetroot, and basil.
Why Grow Microgreens at Home?
Growing microgreens is one of the most rewarding experiences for any home gardener. Here’s why:
✔ Fast Harvest
You can start enjoying your greens in as little as one week.

✔ Uses Very Little Space
Perfect for small homes, balconies, or kitchen counters.
✔ No Special Tools Needed
All you need is a shallow tray, seeds, and a growing medium.
✔ Highly Nutritious
Microgreens contain concentrated vitamins, antioxidants, and enzymes.
✔ Amazing Flavor Boost
Great for salads, sandwiches, soups, smoothies, and garnishing dishes.
Top 6 Easy Tips for Growing Microgreens at Home
Below are the most important secrets to ensure your microgreens grow healthy, flavorful, and fast—even if you’re a beginner.
Tip 1: Choose the Right Seeds for Success
Not all seeds are ideal for microgreens. You’ll want varieties that:
- Germinate fast
- Produce tender stems and leaves
- Have strong flavors
Best Seeds for Beginners
- Radish – grows in 5–7 days, spicy and crunchy
- Sunflower – nutty flavor, thick stems
- Mustard – quick germination, mildly spicy
- Broccoli – highly nutritious, mild taste
- Wheatgrass – excellent for juicing
- Fenugreek (Methi) – aromatic and fast-growing
Make sure to buy untreated seeds specifically labeled for microgreens to avoid seed chemicals.
Tip 2: Use a Light, Airy Growing Medium
Microgreens grow best in a medium that drains well but holds moisture.

✔ Recommended Growing Mediums:
- Cocopeat (excellent water retention)
- Seed-starting mix
- A mix of compost + cocopeat
- Paper towels (for specific seeds like mustard or wheatgrass)
Avoid heavy garden soil—it suffocates the delicate roots and increases chances of mold.
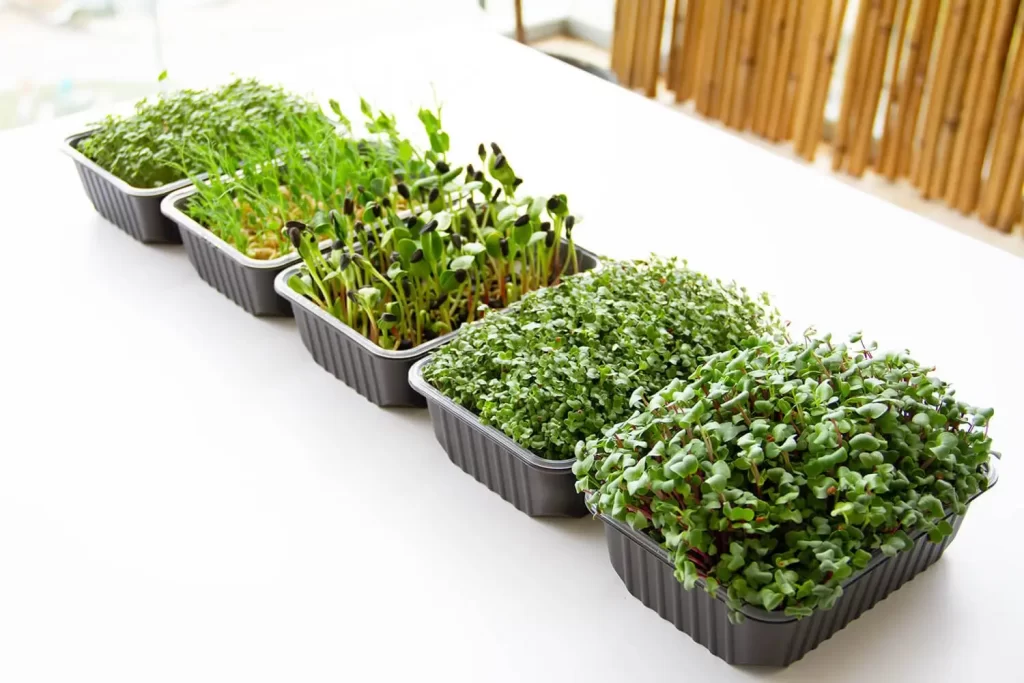
Fill your tray with about 1–1.5 inches of growing medium and level the surface gently.
Tip 3: Sow Seeds Densely—but Not Too Dense
Microgreens need close spacing, but overcrowding causes mold and weak growth.
✔ How to Sow:
- Spread seeds evenly across the surface
- Avoid overlapping clusters
- Press seeds lightly into the medium
- Do not bury them—just mist with water
Different seeds require different densities:
- Small seeds (mustard, broccoli): heavy sprinkle
- Large seeds (sunflower, pea): single, evenly spaced layer
Good spacing improves air circulation and reduces disease.
Tip 4: Keep Them in the Dark for Stronger Germination (The “Blackout” Method)
This is a secret used by professional microgreen growers.
After sowing:
- Mist the seeds lightly
- Cover the tray with another empty tray or a lid
- Keep them in darkness for 2–3 days
Why blackout helps:
- Seeds sprout faster
- Stems grow straighter
- Roots strengthen
- Prevents premature leaf yellowing
For sunflower and pea microgreens, adding a little weight on top encourages stronger stems.

Tip 5: Provide Bright Light at the Right Time
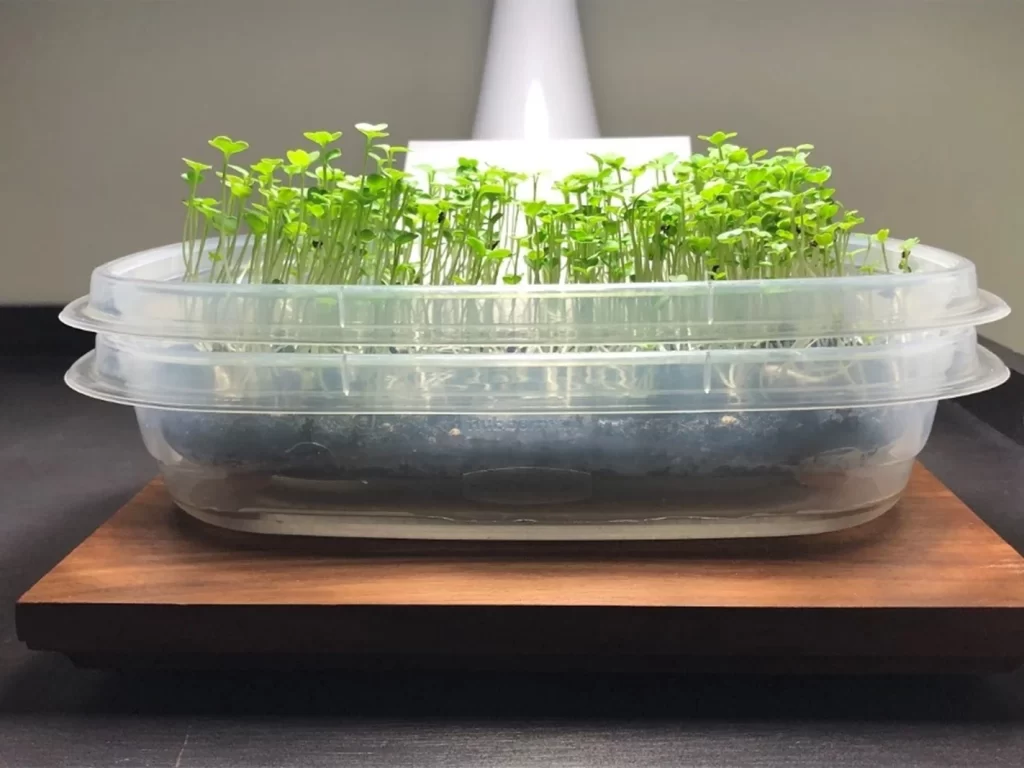
After 2–3 days, when most seeds have sprouted, remove the lid and expose the seedlings to light.
✔ Lighting Options:
- Natural sunlight (2–4 hours/day is enough)
- A bright windowsill
- LED grow lights (if indoors with low light)
Place lights 6–8 inches above the tray.
Without enough light, microgreens become pale, thin, and leggy. With adequate light, they turn vibrant green and grow fuller.
Tip 6: Keep Moisture Balanced—Never Too Wet or Too Dry
Watering is the key factor that decides the success of your harvest.
✔ Best Watering Practices:
- Mist the surface once or twice a day
- Water from below by pouring water into the tray beneath
- Avoid overhead watering after sprouts appear
- Keep the medium moist but not soggy
Warning Signs:
- Too much water: mold, foul smell, mushy stems
- Too little water: dry leaves, stunted growth
- Too little light + high moisture: perfect conditions for fungus
Aim for a consistently damp texture—like a wrung-out sponge.
Bonus Tips for Higher Success
Here are extra microgreen hacks to take your growing to the next level:
Use a fan for better air circulation
This reduces mold risk and strengthens stems.
Sterilize trays before reuse
Prevents fungal spores from spreading.
Add a mild nutrient solution (optional)
Cocopeat has no nutrients, so a diluted liquid fertilizer boosts growth.
Harvest at the right time
Snip microgreens when they develop their first true leaves.
Use sharp scissors
Clean cuts help preserve freshness.
How to Harvest Microgreens
Microgreens are ready in 7–14 days, depending on the variety.
To harvest:
- Hold a bunch gently
- Cut just above the soil line using scissors
- Wash lightly under cool water
- Dry on a clean cloth or tissue
Consume them fresh or store them in an airtight container in the refrigerator for up to 5 days.
🍽 How to Use Microgreens
Microgreens are a premium ingredient in modern kitchens.
Add them to:
- Salads
- Sandwiches
- Wraps
- Soups
- Eggs
- Smoothies
- Stir-fries (added at the end)
- Buddha bowls
- Garnishing any dish
Their vibrant color and bold flavor make even simple meals look gourmet.
Conclusion: Grow Fresh Nutrition Right at Home!
Growing microgreens at home is one of the easiest, most rewarding gardening experiences. With the 6 simple tips above, you can enjoy fresh, healthy greens every week, even if you have no garden space. The process is quick, low-cost, and requires minimal effort—but the results are incredibly nutritious and delicious.
Whether you’re a beginner or an experienced gardener, microgreens bring the joy of harvest right into your kitchen.