Growing sweet potatoes at home is one of the most rewarding experiences for any gardener—beginner or expert. These vigorous vines, known for their lush foliage and nutritious tubers, thrive beautifully even in small spaces when grown in containers or pots. If you’ve always wanted to enjoy homegrown sweet potatoes but lack a traditional garden, this guide will show you how to turn even the tiniest balcony, rooftop, or patio into a productive sweet-potato patch.
In this in-depth article, you’ll learn the easiest methods, expert tips, container choices, soil mixes, and care techniques to produce a bountiful harvest. Let’s start planting!
Why Grow Sweet Potatoes in Containers?
Sweet potatoes naturally grow vigorously with deep-spreading roots, but they’re surprisingly adaptable to container environments. Here’s why container growing is a game-changer:
✔ Ideal for Small Spaces
If you live in an apartment or lack backyard soil, containers allow you to grow sweet potatoes vertically, horizontally, or on rooftops.
✔ Better Soil Control
You control the soil quality, preventing pests like grubs and root rot that often plague ground-grown crops.
✔ Fewer Weeds, Less Maintenance
Container plants face far fewer weeds, making care easier and faster.

✔ Portable Plants
You can move your pots anywhere—towards sunlight, away from storms, or indoors during cold snaps.
Step 1: Choosing the Right Container or Pot
Sweet potatoes develop long, tubular roots. To encourage large and healthy tubers, your container must give them space to grow.
Recommended Container Size
- Minimum depth: 12–15 inches
- Best depth: 18–20 inches
- Width: At least 14 inches
- Ideal volume: 30–50 liters
Growbags, large plastic pots, paint buckets, fabric smart pots, or even recycled water drums work extremely well.
Why Deeper Containers Are Better
Sweet potatoes form their tubers below the stem nodes. A deep container gives them ample room to expand, resulting in larger harvests.
Drainage Is Critical
Make sure the pot has:
- At least 6–10 drainage holes
- A raised bottom or layer of gravel to prevent waterlogging
Sweet potatoes hate soggy soil, so drainage must never be compromised.

Step 2: Preparing Sweet Potato Slips (Seedlings)
Sweet potatoes aren’t grown from seeds—they’re grown from slips, which are sprouts that grow from mature sweet potatoes.
How to Make Slips at Home
- Choose a healthy sweet potato
- Organic varieties sprout best.
- Avoid chemically treated ones.
- Cut the potato in half
Most gardeners prefer this method for faster sprouting. - Suspend each half in a glass of water
- Use toothpicks to hold the top half above the jar.
- Lower half should remain submerged.
- Place near sunlight
Warmth encourages sprouting. - Wait 10–20 days
Slips will grow from the top—green shoots with tiny leaves. - Remove and root the slips
- Twist off each slip when it reaches 10–15 cm.
- Place them in water to root for another 3–5 days.
You now have perfect planting material!
Step 3: Preparing the Perfect Soil Mix
Sweet potatoes need loose, airy, nutrient-rich soil. Compacted soil will result in tiny tubers.
Ideal Soil Mix for Containers
Use a blend like this:
- 40% garden soil
- 30% coco peat or peat moss
- 20% compost or well-rotted manure
- 10% perlite, rice husk, or sand
Additives that Boost Growth
- 1 cup wood ash (potassium source)
- A handful of bone meal (promotes root development)
Important: Sweet potatoes prefer slightly acidic to neutral soil (pH 5.5–6.5).
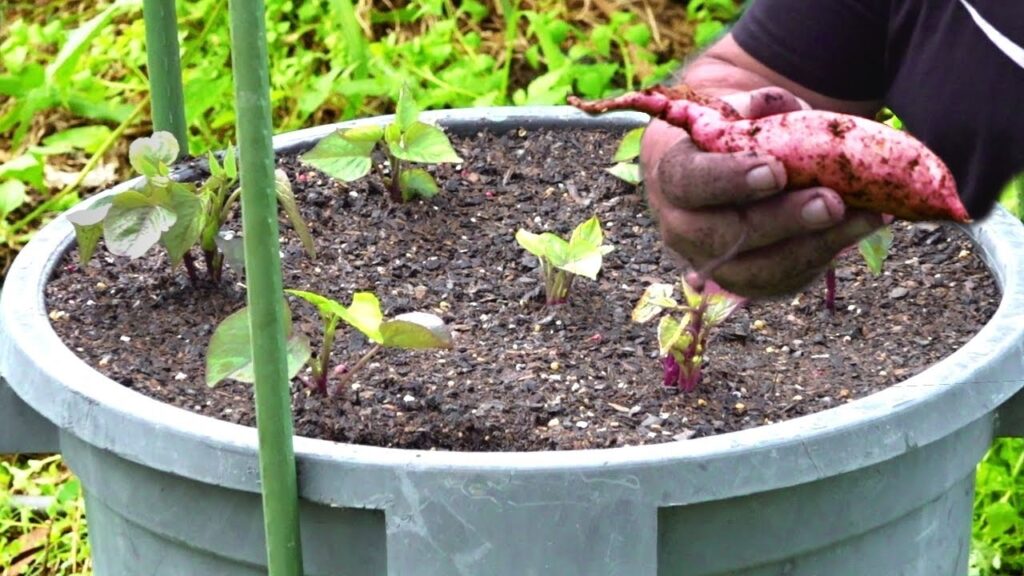
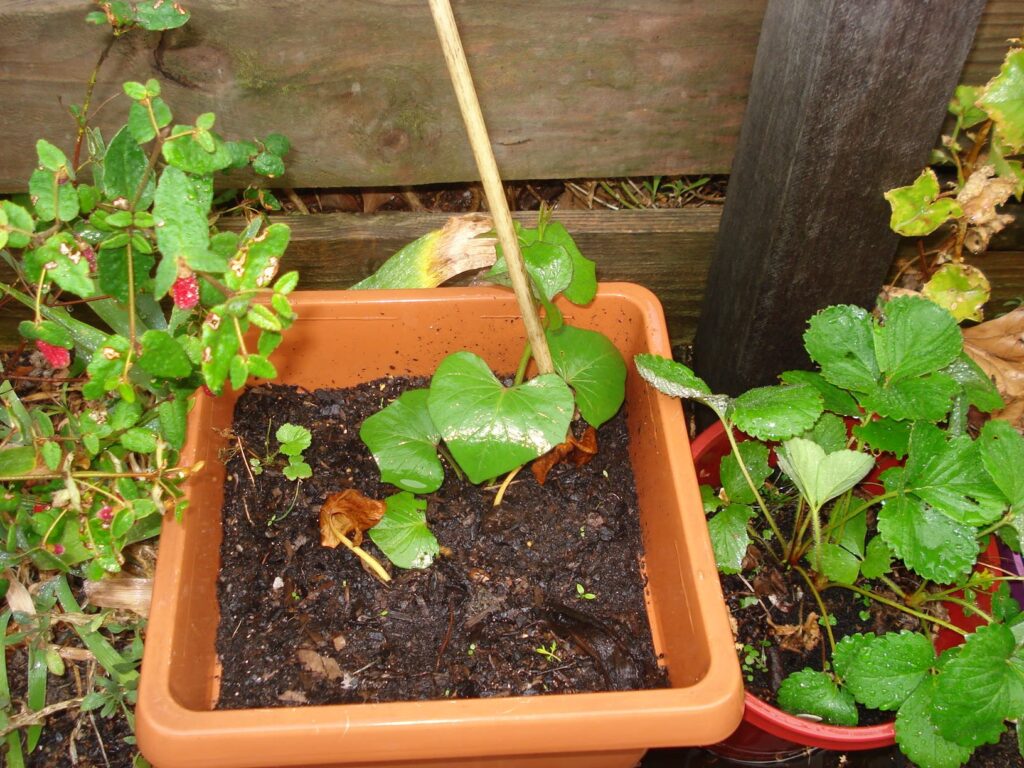
Step 4: Planting Sweet Potato Slips
Now it’s time to plant your rooted slips in the prepared container.

How to Plant Correctly
- Fill the pot 80% with your soil mix.
- Make holes about 4–5 inches deep.
- Plant 2–3 slips per container depending on size.
- Bury about half the stem.
- Gently press the soil and water thoroughly.
Pro Tip:
More slips do NOT mean more sweet potatoes. Overcrowding reduces tuber size.
Step 5: Sunlight & Temperature Requirements
Sweet potatoes thrive in warm weather.
✔ Sunlight
- At least 6–8 hours of direct sunlight daily
- More sunlight = bigger tubers
✔ Temperature
- Ideal range: 24–30°C
- Growth slows drastically below 18°C
If you live in a cooler climate, consider:
- Placing pots near sunny walls
- Using black growbags to absorb heat
- Bringing containers indoors on cold nights
Step 6: Watering the Right Way
Watering sweet potatoes is simple but strategic.
✔ First Month: Keep soil evenly moist
This helps slips establish roots.
✔ After Vines Establish (Day 30 onward)
- Water deeply but less often.
- Allow the top 2 inches of soil to dry before watering again.
✔ Avoid Overwatering
Too much water =
root rot
small and deformed tubers

Good Watering Routine
- Summer: every 2–3 days
- Winter (tropics): once a week
Step 7: Feeding and Fertilizing
Sweet potatoes are not heavy feeders, but they benefit from the right nutrients.
At Planting Time
Mix in:
- Compost
- Bone meal
- Wood ash
Mid-Season Feeding (After 4–5 Weeks)
Apply:
- Liquid seaweed
- Compost tea
- Banana peel fertilizer
- Vermicompost
Avoid nitrogen-heavy fertilizers—they cause excessive leaves and tiny tubers.
Step 8: Training and Managing the Vines
Sweet potato vines grow fast and long. Training helps container plants stay productive.
What to Do
- Coil vines back into the pot to encourage tuber formation.
- Trim overly long vines that drain energy.
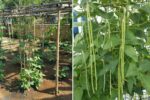
- Use trellises if vertical growth is preferred.
Pinching off growing tips can also channel energy toward forming tubers underground.
Step 9: Pest and Disease Control
Sweet potatoes grown in containers usually face fewer pests, but still watch for:
Common Pests
- Aphids
- Whiteflies
- Caterpillars
Organic Control Methods
- Neem oil spray (weekly)
- Soap water spray (mild infestations)
- Hand-picking caterpillars early morning
Diseases
- Root rot (caused by overwatering)
- Fungal wilt (improved with good airflow)
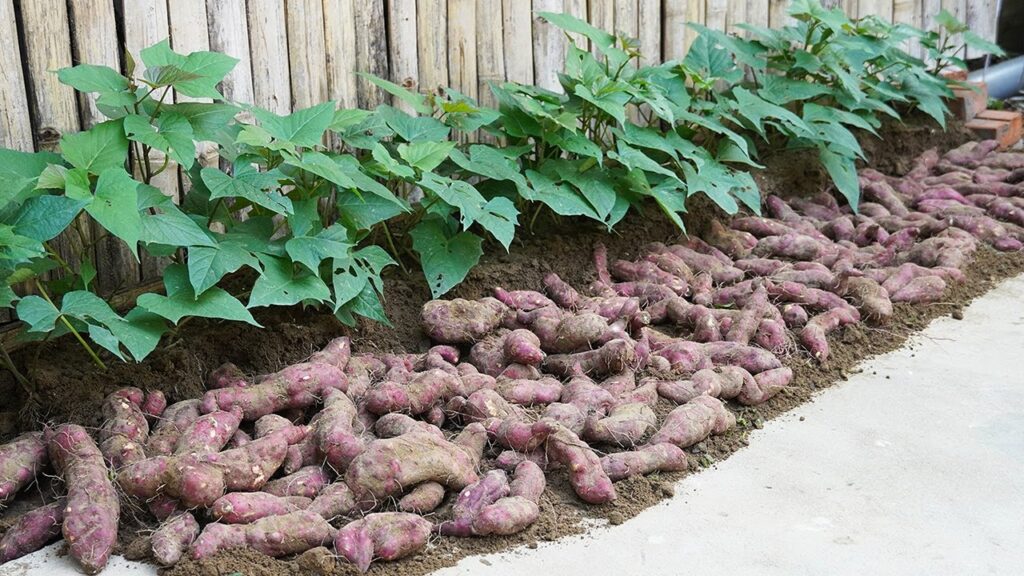
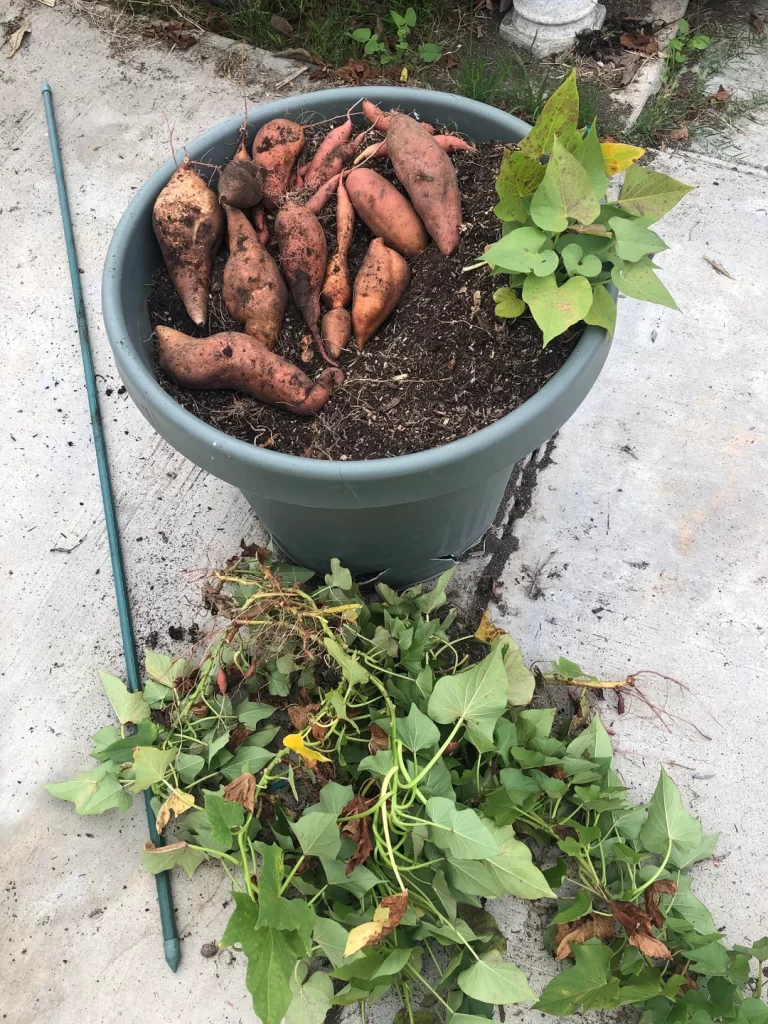
Step 10: When and How to Harvest
The most exciting part!
Signs Your Sweet Potatoes Are Ready
- Leaves turning yellow
- 90–120 days after planting
- Vines slowing growth
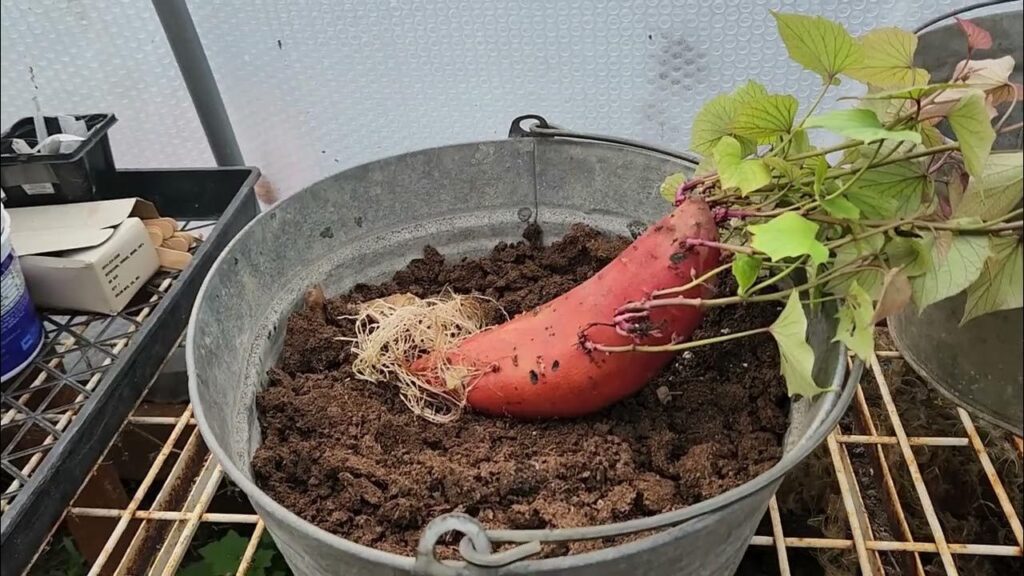
Harvesting Method
- Gently loosen the soil.
- Lift tubers using hands—avoid tools.
- Remove without damaging skins.
Curing Sweet Potatoes
Cure for 7–10 days in a warm, dry place.
This improves sweetness and shelf life.
Final Tips for Huge, Sweet Harvests
- Use wide, deep containers.
- Avoid nitrogen fertilizers.
- Ensure 7+ hours of sunlight.
- Do NOT overwater.
- Cure tubers before eating for maximum sweetness.
Conclusion: Grow Big Sweet Potatoes Anywhere!
Growing sweet potatoes in containers is not only possible—it’s incredibly easy, fun, and rewarding. With the right container, soil mix, and care routine, you can harvest beautiful, large, sweet tubers right from your balcony or rooftop.
Whether you dream of homemade sweet potato fries, roasted delicacies, or healthy soups, container-grown sweet potatoes will bring fresh flavor straight to your table.