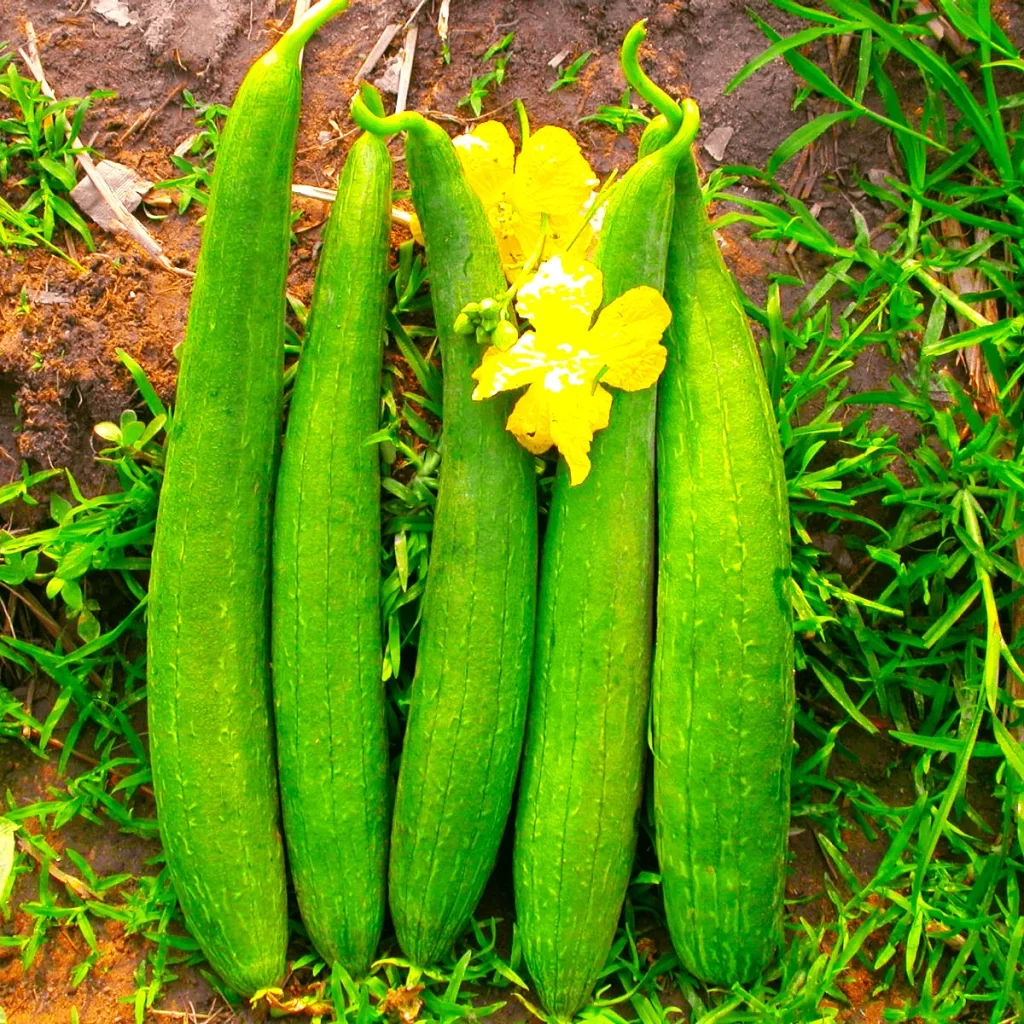
Sponge gourd—also known as luffa, gilki, or vegetable sponge—is one of the most rewarding and fast-growing climbing vegetables you can add to your balcony or rooftop garden. With a little care, this vigorous vine can produce dozens of tender, delicious gourds, even when grown in containers. And the best part? You can begin harvesting in as little as 50 days, with the plant continuing to give multiple fruits throughout the season.
If you’ve ever wondered how to grow sponge gourds successfully in pots, or you’ve struggled to get good yields before, this complete guide will walk you through everything: container size, soil mix, fertilizing, trellis setup, pollination tips, pest control, and secrets to achieving continuous harvests.
Let’s dive into your 50-day sponge gourd success plan!
Why Grow Sponge Gourds in Containers?
Growing sponge gourds in pots is not only possible but extremely productive when done right. Here’s why container gardening works so well:
✔ Perfect for Urban Spaces
Small balconies, rooftops, or terraces are ideal—no big land needed.
✔ Easy to Control Soil Quality
You can tailor the soil mix for faster growth and better fruiting.
✔ Fewer Weeds & Pests
Containers reduce soil diseases and make pest management simpler.
✔ Faster Harvest
Warm container soil encourages rapid root development, speeding up fruiting.
✔ Multiple Harvests
A single healthy vine can give dozens of tender gourds over months.

Step 1: Choosing the Right Variety
Not all sponge gourds grow the same. For containers, choose early, compact, and high-yield varieties such as:
- Pusa Sneha
- Pusa Chikni
- Early Green Long
- Naga Luffa (fastest fruiting)
- Hybrid high-yield sponge gourd varieties
Early-maturing varieties produce harvestable gourds within 45–55 days, perfect for container gardening.
Step 2: The Perfect Container Size
Container size is one of the most important factors for sponge gourd success.
✔ Recommended Container Size
- Minimum: 25–30 liters
- Ideal: 40–50 liters
- Depth: At least 12–14 inches
Use:
- Large plastic tubs
- Grow bags
- Cement pots
- Barrels cut in half
Multiple harvest secret: A bigger container = healthier roots = more flowers = continuous gourds.
Ensure there are 6–8 drainage holes.
Step 3: High-Nutrient Soil Mix for Fast Growth
Sponge gourds are heavy feeders. The right soil mix will drastically improve yield.
Best Soil Mix for Rapid Growth
- 40% garden soil
- 30% compost/vermicompost
- 20% cocopeat
- 10% sand/perlite
Add:
- 1 cup neem cake
- 1 cup bone meal
- ½ cup wood ash
- A handful of Trichoderma-treated compost
This soil ensures:

- Fast root development
- Great drainage
- Continuous nutrient supply
Step 4: Seed Starting & Transplanting
You can sow seeds directly in the container or start them in a seed tray.
✔ For Seed Trays
- Use cocopeat
- Sow seeds 1–1.5 cm deep
- Keep warm and moist
- Germination takes 4–7 days
- Transplant when seedlings have 3–4 true leaves
✔ For Direct Sowing
- Sow 2–3 seeds in the container
- Keep one strong plant and remove others
Healthy seedlings lead to faster fruiting.
Step 5: Sunlight Requirements
Sponge gourd vines love heat and full sun.
✔ Sunlight Needed
6–8 hours of direct sunlight every day
Without enough sun:
- Vines grow slow
- Flowers drop
- Fruits remain small
Place the container in the sunniest spot available.
Step 6: Trellis Setup is Essential
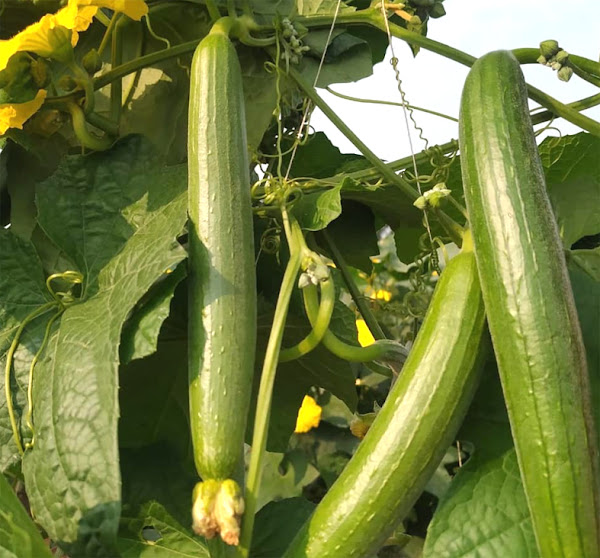
Sponge gourds are climbers—without support, they cannot perform well.
✔ Simple Trellis Ideas
- Vertical bamboo poles and rope
- A-frame wooden support
- Rooftop railing trellis
- Nylon netting
- Wire mesh arch
Make sure the trellis is at least 6–7 feet tall.
Fruit formation tip:
The higher the vine climbs, the more branches it produces, leading to more female flowers.

Step 7: Watering Needs
Water is crucial for fast growth, but overwatering can cause root rot.
✔ Ideal Watering Schedule
- Summer: Daily watering
- Winter: Every 2–3 days
- Keep soil consistently moist
- Avoid waterlogging
- Mulch with dry leaves or grass
Never let the soil dry completely, especially during flowering.
Step 8: How to Boost Flowering & Fruit Setting
This is the most important part of sponge gourd success.
✔ When Flowers Appear
Male flowers appear first (normal).
Female flowers appear later—identify them by the tiny baby fruit behind the flower.
✔ Improve Fruit Set
- Spray seaweed extract every 15 days
- Add a handful of vermicompost every 20 days
- Use Epsom salt (1 tsp per liter) once a month
- Add banana peel fertilizer during flowering
✔ Hand Pollination (If Needed)
If pollinators like bees are less active:
- Pluck a male flower
- Remove its petals
- Gently touch the pollen to the female flower center
This increases fruiting drastically.
Step 9: Fertilizer Schedule for Continuous Harvests
Day 0 (Planting)
- Compost
- Bone meal
- Neem cake
Day 20
- Add 2–3 handfuls of vermicompost
- Apply liquid fertilizer (compost tea)
Day 35–40 (Flowering Stage)
- Use banana peel extract
- Spray seaweed solution
- Add ash for potassium
Day 45 onwards (Fruiting Stage)
- Feed every 15 days:
- Vermicompost
- Mustard cake solution (well diluted)
- Jaggery + gram flour microbial booster
This keeps the plant fruiting for months.
Step 10: Pest & Disease Management
Sponge gourds are generally hardy but can face issues.

Common Pests
- Aphids
- Whiteflies
- Spider mites
- Fruit flies
- Caterpillars
✔ Organic Solutions
- Neem oil spray (weekly)
- Soap water spray for early infestations
- Sticky yellow traps
- Garlic-chili spray
Common Diseases
- Powdery mildew
- Downy mildew
- Fungal wilt
Use Trichoderma in soil and avoid overhead watering.
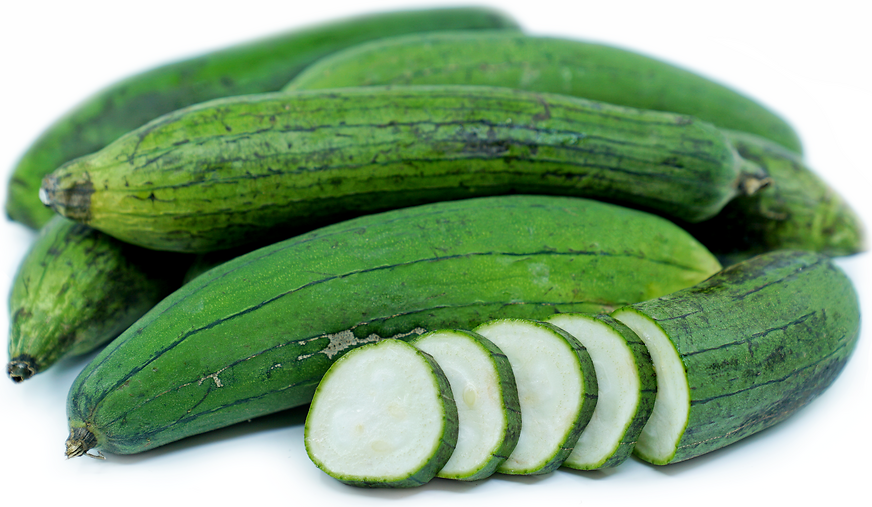
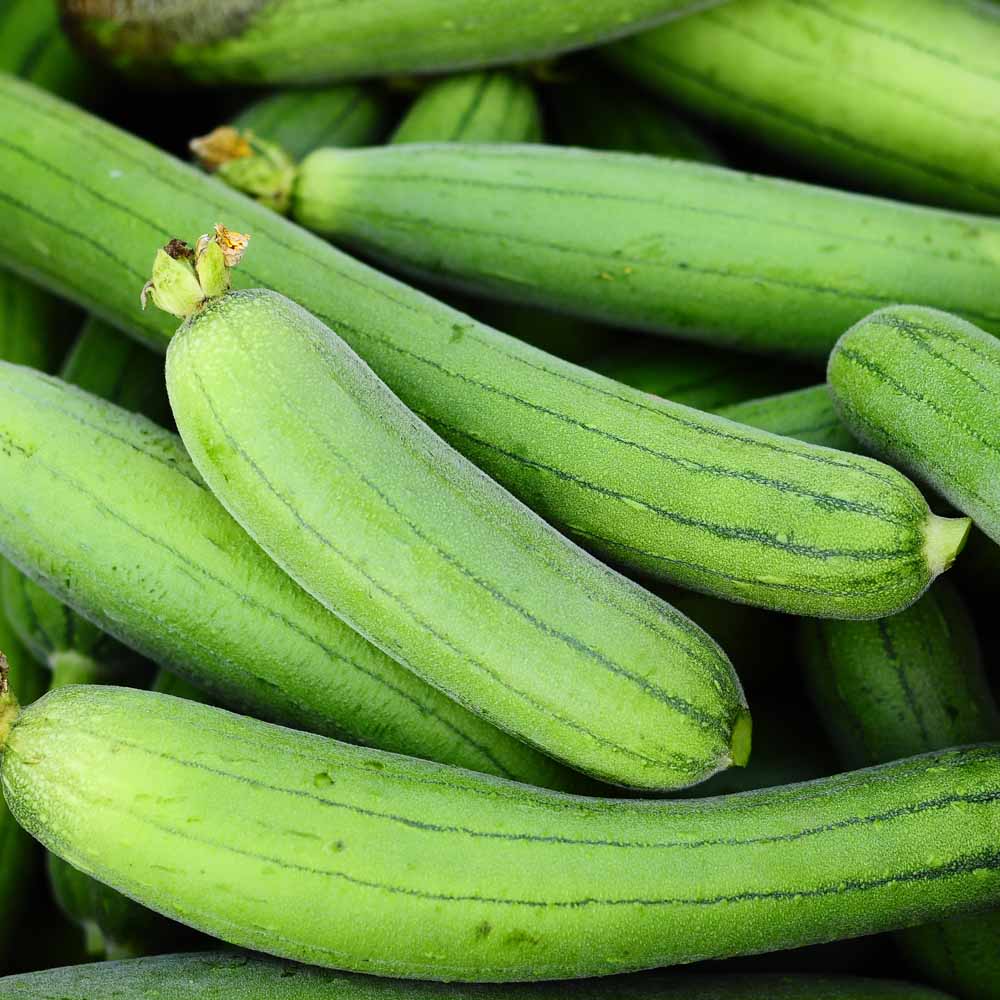
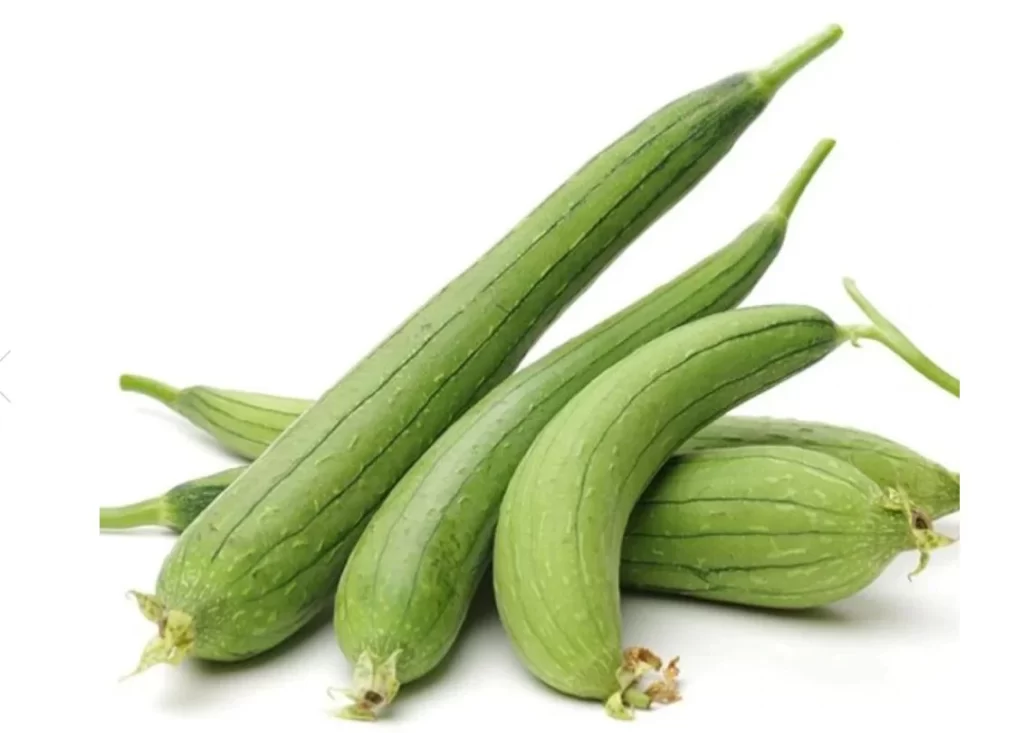
Step 11: Harvesting in 50 Days
The biggest joy of growing sponge gourds is how fast they mature.
✔ When to Harvest
- Fruit is soft and tender
- Skin is shiny
- You can press it gently and feel slight elasticity
Do not wait too long—overripe gourds become fibrous and hard.
✔ Continuous Harvest Method
Harvesting regularly encourages the vine to produce more flowers and new fruits.
Pro Tips for Massive Yields
Here are the secrets expert gardeners use:
Tip 1: Pinch Growing Tips
Once the vine reaches 6–7 feet, pinch the tip to promote side branching.
Tip 2: Use Jaggery Water
Helps attract pollinators and boosts soil microbes.
Tip 3: Avoid Growing in Shade
Even slight shade reduces female flower production.
Tip 4: Keep One Main Vine
Remove weak secondary vines early.

Tip 5: Train the Plant Daily
Guide vines gently toward the trellis.
Conclusion: Grow Tender, Delicious Sponge Gourds in Just 50 Days!
Growing sponge gourds in containers isn’t just possible—it’s incredibly productive and rewarding. With the right soil mix, ample sunlight, a strong trellis, and consistent feeding, your plant can begin fruiting in as little as 50 days and continue producing for months.
This guide gives you all the tools to turn a small pot into a thriving gourd garden. Whether you’re a beginner or an experienced gardener, sponge gourd vines are guaranteed to bring joy, beauty, and delicious harvests to your home.