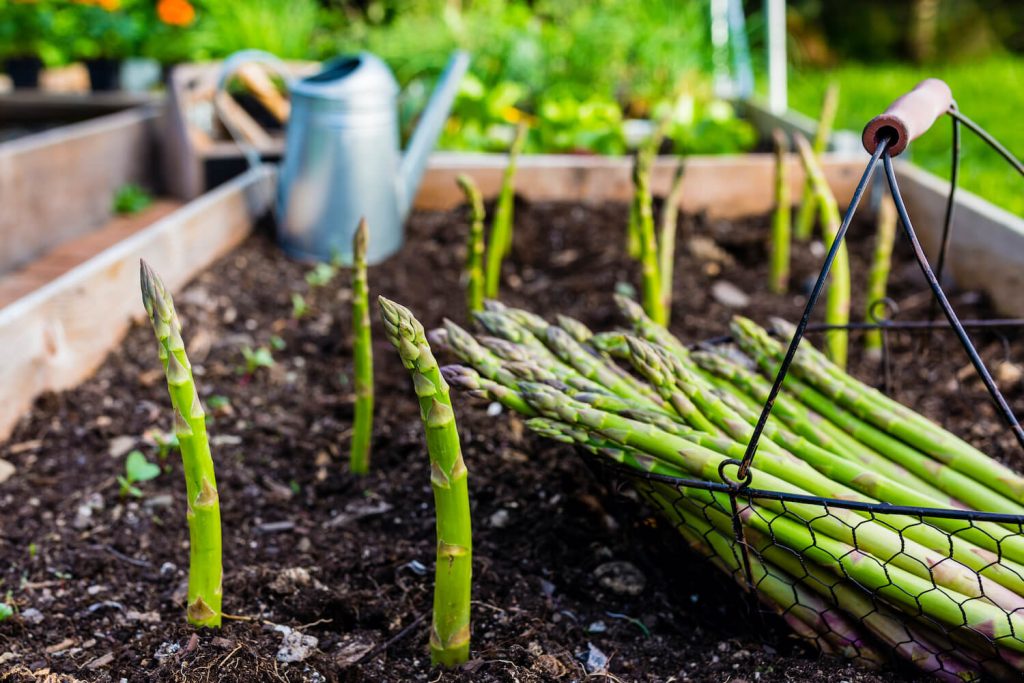
Asparagus is a highly nutritious vegetable, prized for its tender shoots and unique flavor. Traditionally, growing asparagus requires garden space and patience, as it can take a few years to establish. But what if you could grow asparagus at home in plastic bottles, enjoying fresh spears all year round with minimal effort? This innovative approach is perfect for urban gardeners, balcony growers, and anyone with limited space.
In this guide, we’ll explore a step-by-step method for cultivating asparagus in plastic bottles, including preparation, planting, maintenance, and harvesting, so you can enjoy homegrown asparagus anytime.
1. Why Grow Asparagus in Plastic Bottles?
Plastic bottle cultivation is becoming a popular choice for home gardening, thanks to its numerous advantages:
- Space-saving: Ideal for balconies, patios, and small indoor areas.
- Water-efficient: Self-watering or wicking systems reduce frequent watering.
- Eco-friendly: Recycles plastic bottles instead of discarding them.
- Cost-effective: No need for large garden beds or expensive containers.
- Continuous harvest: Asparagus can be harvested throughout the year with proper care.
This method makes asparagus cultivation accessible, even to beginners.

2. Selecting the Right Asparagus Variety
Asparagus varieties differ in growth habits, color, and flavor. For container cultivation, consider:
- Mary Washington: Popular green asparagus, vigorous and productive.
- Jersey Knight: High-yield, disease-resistant, and suitable for small spaces.
- Purple Passion: Purple shoots, sweet flavor, ideal for gourmet cooking.
- Mini asparagus varieties: Perfect for container growth and faster harvest cycles.
Select a variety suited to your climate and container size for optimal results.
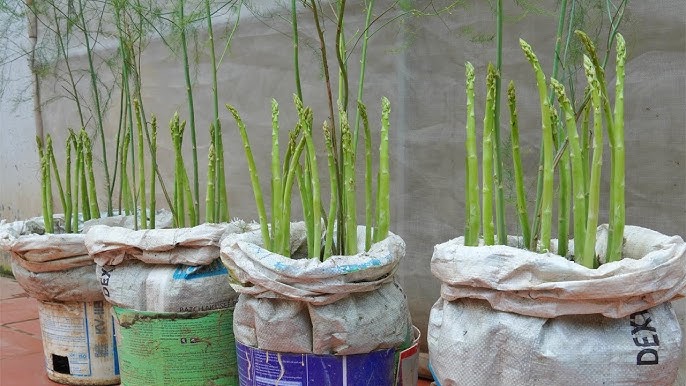
3. Preparing Plastic Bottles for Asparagus
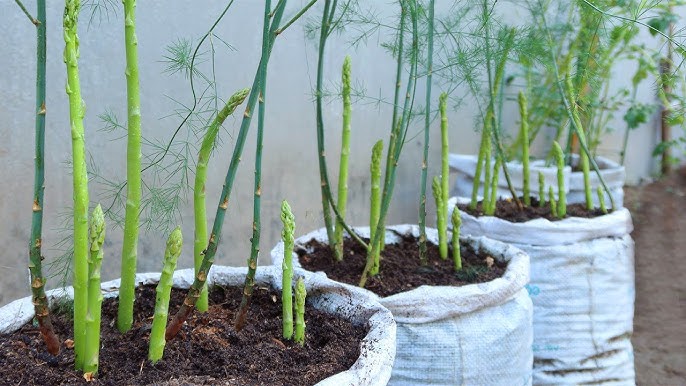
Plastic bottles can be transformed into effective vertical or self-watering containers for asparagus.
Materials Needed
- 2–3 liter plastic bottles
- Sharp scissors or craft knife
- Soil mix (potting mix, compost, or coco peat)
- Pebbles or small stones for drainage
- Cotton wick (optional for self-watering)
Step-by-Step Bottle Preparation
- Cut the Bottle: Slice the top third off the bottle. The bottom part will hold water, while the top holds soil.
- Add Drainage Holes: Poke small holes at the bottom of the soil container for water absorption.
- Create a Wick System: Thread a cotton string from the water reservoir to the soil container to draw moisture upward.
- Add Pebbles: Place small stones at the bottom for proper drainage.
- Fill with Soil: Use a nutrient-rich, light, and well-draining soil mix.
Your bottle is now ready to support asparagus growth efficiently.

4. Planting Asparagus Crowns or Seeds
Asparagus can be grown from seeds or crowns. Crowns are recommended for faster harvest, as seeds take longer to mature.
Planting Crowns
- Place the crown in the soil with roots spread out naturally.
- Bury it about 5–7 cm deep, covering with soil gently.
- Space crowns 10–15 cm apart in each bottle.
Planting Seeds
- Sow seeds 1–2 cm deep in soil.
- Water lightly to keep the soil moist.
- Seeds germinate in 2–3 weeks, but it may take 1–2 years for harvestable spears.
For home containers, crowns are preferred, ensuring a faster, reliable yield.
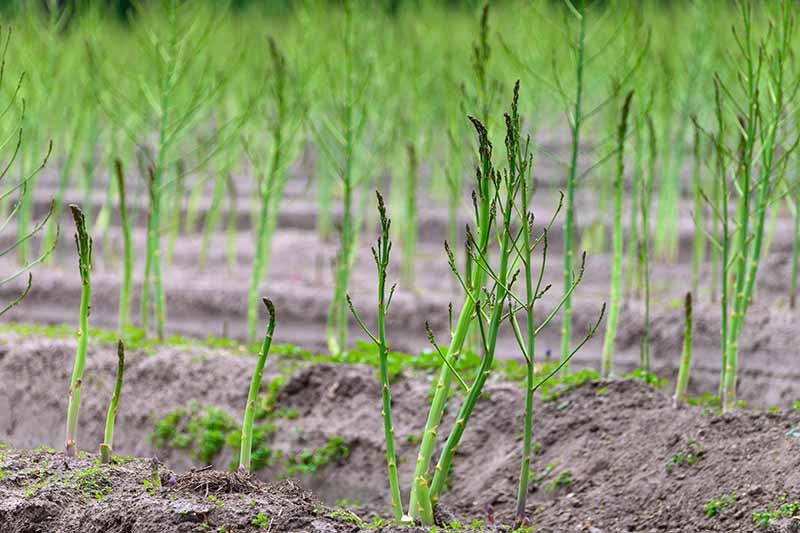
5. Positioning Your Bottles
- Place bottles in bright sunlight for at least 6 hours per day.
- Ensure good air circulation to prevent fungal problems.
- For vertical setups, secure bottles on a railing or balcony, allowing stems to grow upright.
Proper light and airflow are crucial for strong growth and healthy shoots.
6. Watering and Maintaining Moisture
Asparagus requires consistent moisture, especially during the first year:
- Fill the bottom bottle reservoir and allow the wick to supply water gradually.
- Keep the soil damp but not waterlogged to avoid root rot.
- Check water levels every 3–5 days, depending on temperature and humidity.
The self-watering bottle system ensures steady hydration, crucial for tender, high-quality asparagus spears.
7. Fertilizing Asparagus in Bottles
Container-grown asparagus relies on nutrient-rich soil, as they cannot access garden nutrients.
Recommended Fertilizers
- Balanced NPK fertilizer (10:10:10) for vegetative growth
- Organic compost or worm castings for long-term nutrition
- Potassium-rich fertilizer during spear development to increase size and taste
Fertilizing Tips
- Apply fertilizer every 3–4 weeks in small amounts.
- Avoid over-fertilization; excessive nitrogen can lead to lush foliage but weak spears.
Proper nutrition ensures vigorous growth and year-round harvestable asparagus.
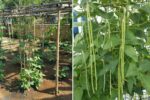
8. Supporting and Pruning Asparagus
- Provide stakes or trellises if stems grow tall, especially for vertical bottle setups.
- Remove dead or yellowing fronds to improve air circulation and prevent disease.
- Regular pruning encourages healthy spear production and prevents overcrowding.
Maintaining plant health ensures a consistent, high-quality harvest.
9. Pest and Disease Management
Asparagus is generally hardy but can be affected by:
- Aphids or thrips: Spray with mild soapy water or neem oil.
- Fungal infections (rust or blight): Ensure proper airflow and avoid waterlogging.
- Root rot: Prevent by maintaining well-drained soil and proper self-watering.
Early monitoring and natural interventions are key to preventing significant damage.
10. Harvesting Asparagus
- Asparagus is ready for harvest 2–3 months after planting crowns or 1–2 years after growing from seeds.
- Cut spears when they are 15–25 cm tall using a sharp knife.
- Harvest 3–5 spears per plant initially to allow roots to strengthen.
- Increase harvest gradually as the plant matures, ensuring sustainable growth for future years.
Proper timing produces tender, flavorful, and nutritious asparagus.
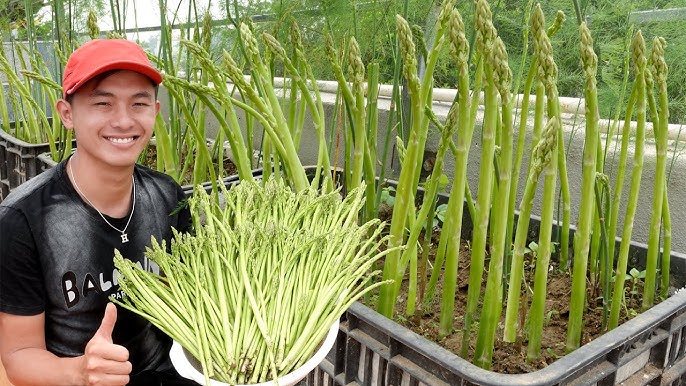
11. Year-Round Growing Tips
- Use indoor or balcony setups to grow asparagus throughout the year.
- Rotate bottles to balance sunlight exposure.
- Apply mulch or straw in soil containers to retain moisture and regulate temperature.
- Succession planting ensures continuous harvest.
With consistent care, asparagus can provide fresh shoots all year round, even in urban settings.
12. Advantages of Growing Asparagus in Plastic Bottles
- Urban gardening-friendly: Ideal for limited space.
- Water-efficient: Self-watering reduces manual labor.
- Eco-conscious: Recycles plastic waste.
- Cost-effective: Minimal investment for sustainable harvest.
- Continuous harvest: Enjoy asparagus shoots for months.
- Easy management: Pests, diseases, and soil maintenance are simplified.
This method combines modern urban gardening with practical sustainability, perfect for small-space growers.
Final Thoughts
Growing asparagus in plastic bottles is a simple, rewarding, and sustainable way to enjoy this nutritious vegetable at home. By using the right materials, selecting suitable crowns or seeds, providing consistent moisture, and maintaining proper nutrition, anyone can cultivate healthy, tender asparagus in small spaces.
This method is ideal for urban gardeners, balcony growers, and indoor plant enthusiasts, turning ordinary plastic bottles into productive vegetable containers. With dedication and care, you can enjoy fresh, homegrown asparagus all year round, saving money and enhancing your meals with natural, flavorful produce.