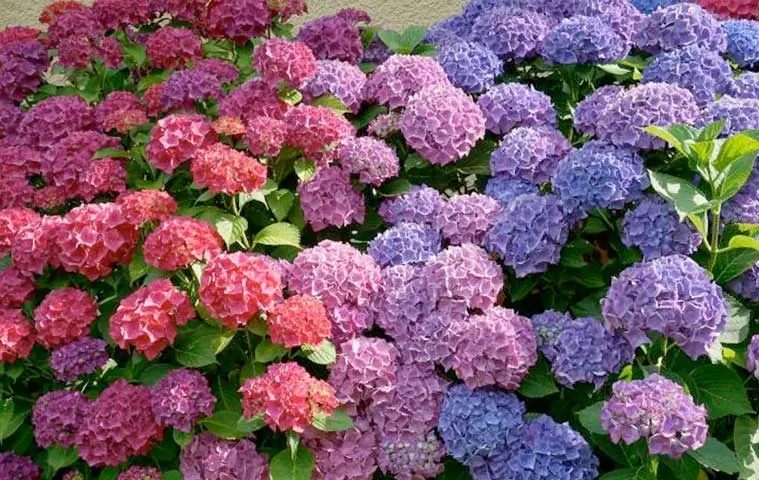
Hydrangeas are one of the most beloved garden shrubs worldwide, celebrated for their lush foliage and stunning clusters of flowers. But did you know you can propagate hydrangeas from cuttings at home without spending a fortune on new plants? With just a few simple tools, patience, and the right techniques, you can grow new hydrangea plants that will blossom beautifully year after year.
In this guide, we’ll explore everything you need to know about hydrangea propagation—from selecting cuttings and preparing soil to rooting techniques and transplanting healthy new plants. Whether you’re a gardening beginner or a seasoned green thumb, this article will help you multiply your hydrangea collection easily at home.
1. Understanding Hydrangea Propagation
Hydrangeas can be propagated in several ways, including:
- Softwood cuttings – taken in late spring to early summer
- Semi-hardwood cuttings – taken in midsummer
- Hardwood cuttings – taken during late fall or winter
Among these, softwood cuttings are the easiest for home gardeners and often produce the quickest root development. Propagation allows you to clone your favorite hydrangea varieties, preserving flower color and plant characteristics.
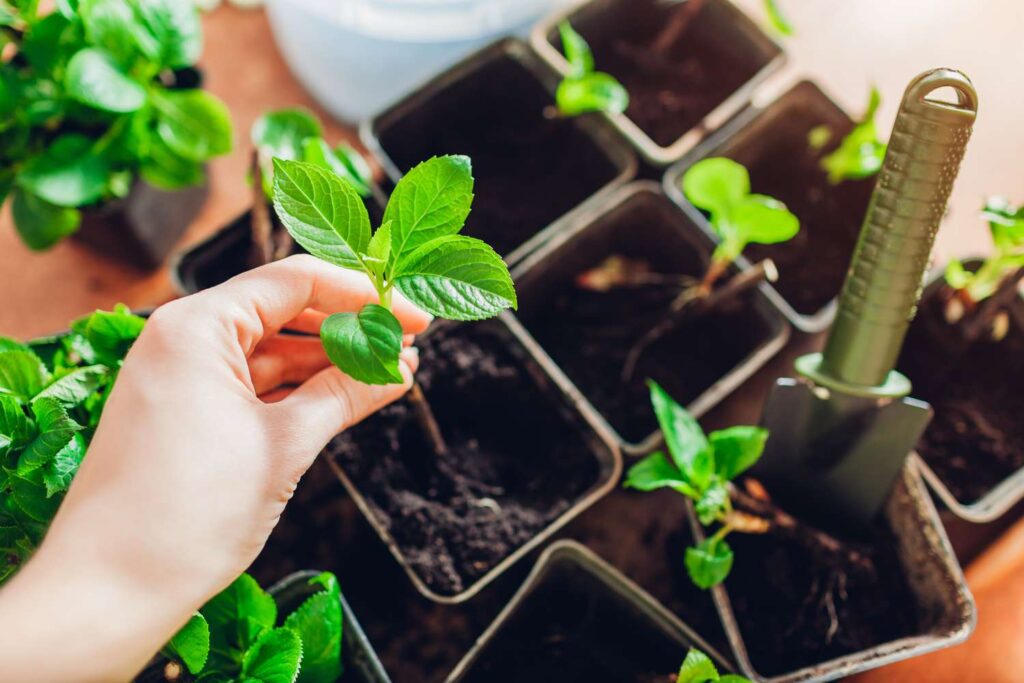
2. Selecting the Right Hydrangea Cutting

Choosing the correct cutting is crucial for success.

Tips for Selecting a Healthy Cutting
- Select a non-flowering stem for faster rooting. Flowering stems expend energy on blooms rather than roots.
- Choose new, green growth that is flexible but firm.
- Look for a stem 4–6 inches long with at least 2–3 leaf nodes. Leaf nodes are the points where leaves grow, as roots will develop from these areas.
- Avoid stems that are woody, brown, or damaged.
The better the quality of your cutting, the higher the chance it will root successfully.
3. Preparing the Hydrangea Cutting
Once you have selected your cutting, proper preparation ensures healthy root growth.
Steps to Prepare a Cutting
- Trim the Cutting: Cut just below a leaf node using a sharp, clean knife or pruning shears.
- Remove Lower Leaves: Strip the leaves from the lower half of the stem, leaving 2–3 leaves at the top. This reduces water loss.
- Optional Leaf Pruning: If leaves are large, cut them in half to further minimize transpiration.
- Apply Rooting Hormone (Optional but Recommended): Dip the cut end in a rooting hormone powder or gel to accelerate root formation.
Prepared correctly, your cutting is now ready to grow roots.
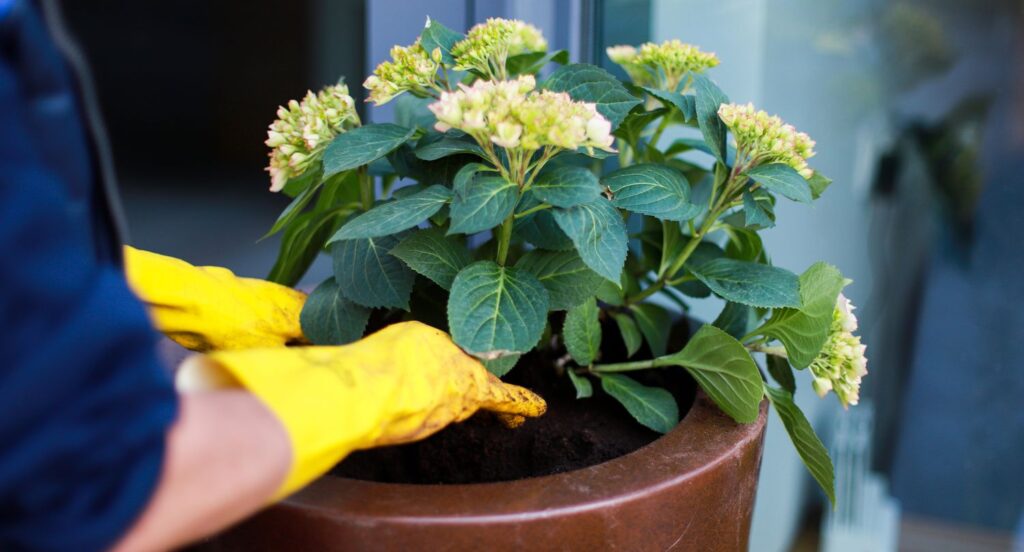
4. Choosing the Right Container and Soil
Hydrangeas root best in well-draining, moisture-retentive soil.
Container Selection
- Use small pots or seed trays with drainage holes.
- 3–4 inch pots are ideal for softwood cuttings.
Soil Mix
- Mix equal parts peat moss and perlite for aeration and moisture retention.
- Alternatively, use a mix of coco peat and vermiculite.
- Avoid garden soil alone, as it can be too heavy and reduce rooting success.
Fill the container halfway with your mix, so you can insert the cutting deeply enough to support the stem.

5. Planting Hydrangea Cuttings
Planting correctly encourages fast rooting.
Step-by-Step Planting
- Make a small hole in the soil with a pencil or stick.
- Insert the cutting about 2–3 inches deep, ensuring at least one leaf node is buried.
- Firm the soil gently around the stem to prevent movement.
- Water lightly to settle the soil.
Tip: Avoid overwatering; the soil should be damp but not soggy.
6. Creating the Ideal Rooting Environment
Hydrangea cuttings require humidity, warmth, and light to root successfully.
Humidity
- Cover the pot with a clear plastic bag or place it in a mini greenhouse.
- Ensure the plastic does not touch the leaves; use small sticks to create a frame.
Light
- Provide bright, indirect sunlight. Direct sunlight can scorch young cuttings.
Temperature
- Keep cuttings at 20–25°C (68–77°F) for optimal rooting.
Air Circulation
- Remove the plastic cover daily for 10–15 minutes to prevent mold or fungal growth.
By maintaining these conditions, your cutting has the perfect environment to develop roots.
7. Watering and Care During Rooting
- Keep the soil consistently moist.
- Mist the leaves occasionally to maintain humidity.
- Avoid overwatering, which can cause rot.
- Inspect cuttings for mold, disease, or yellowing leaves.
With careful attention, roots typically begin to form in 2–4 weeks.

8. Recognizing Successful Rooting
Knowing when your cutting has rooted ensures safe transplantation.
Signs of Root Development
- New growth at the top of the cutting
- Firm resistance when gently tugged
- Roots visible through drainage holes (if using clear containers)
Once cuttings show strong root development, they are ready for transplanting.
9. Transplanting Hydrangea Cuttings
After 4–6 weeks, rooted cuttings can be moved to larger pots or garden beds.
Transplanting Steps
- Gently remove the cutting from the rooting medium.
- Prepare a well-draining garden bed or larger pot with rich, loamy soil.
- Plant the cutting at the same depth it was previously growing.
- Water lightly and continue to protect it from harsh sun for the first week.
Transplanted cuttings will continue vegetative growth and eventually bloom.
10. Long-Term Care for New Hydrangeas
Once established, new hydrangea plants need consistent care:

- Watering: Keep soil evenly moist; hydrangeas dislike drought.
- Fertilizing: Feed monthly with a balanced fertilizer or organic compost during the growing season.
- Pruning: Remove dead or damaged stems to encourage bushy growth.
- Sunlight: Provide partial shade; hydrangeas thrive in morning sun with afternoon shade.
Proper long-term care ensures lush growth and abundant blooms.
11. Common Problems and How to Avoid Them
- Cutting Rot: Usually caused by overwatering or poor drainage. Use well-draining soil and moderate watering.
- Fungal Issues: Ensure air circulation and remove plastic cover periodically.
- Slow Growth: May result from insufficient light or cold temperatures. Move cuttings to a warmer, brighter spot.
- Leaf Yellowing: Could indicate nutrient deficiency; consider light fertilization after roots establish.
12. Advantages of Propagating Hydrangeas at Home
- Cost-effective: Multiply plants without buying new ones.
- Personalized Gardening: Clone your favorite flower colors and shapes.
- Continuous Supply: Enjoy fresh blooms year after year.
- Gift Potential: Rooted cuttings make beautiful gifts for friends and family.
Propagation also allows gardeners to experiment with different varieties and create a thriving hydrangea garden.
Final Thoughts
Propagating hydrangea cuttings at home is a rewarding and achievable gardening project. By selecting healthy cuttings, preparing them correctly, and providing the ideal rooting environment, you can grow strong, flowering hydrangea plants with minimal expense. With patience and consistent care, your home can soon be filled with the lush greenery and vibrant blooms that hydrangeas are famous for.
Whether you’re starting with a single cutting or planning to expand your garden, following these steps ensures successful rooting and healthy growth, allowing your hydrangea collection to flourish beautifully for years to come.