Cabbage is one of the most rewarding vegetables to grow at home. Its crisp, nutritious leaves make a versatile ingredient in salads, stir-fries, soups, and even fermented dishes like sauerkraut. While cabbage is often grown on a large scale in farms, you can successfully cultivate it in your backyard, balcony, or even in containers. This comprehensive guide covers everything you need to know: from sowing seeds to nurturing seedlings and transplanting them for a healthy harvest.
Why Grow Cabbage at Home?
Growing cabbage at home offers several advantages:
✔ Fresh and Pesticide-Free
Homegrown cabbage is healthier, without harmful chemicals.
✔ Cost-Effective
Seeds are inexpensive, and a few plants can provide continuous harvest.

✔ Continuous Supply
By staggering sowing, you can have fresh cabbage all season.
✔ Educational and Fun
Watching cabbage grow from tiny seeds to big heads is rewarding, especially for beginners and kids learning gardening.
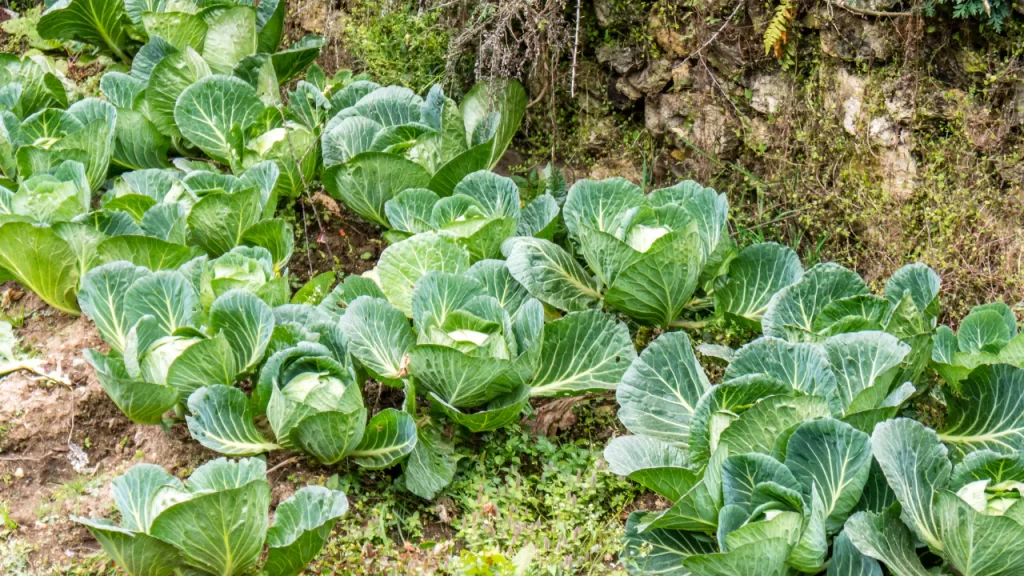
Step 1: Selecting the Right Cabbage Variety
Different cabbage varieties have unique characteristics. Choose one based on your space, climate, and usage:
Popular Varieties
- Green Cabbage: Smooth, round heads, ideal for salads and cooking.
- Red Cabbage: Vibrant color, slightly sweeter, great for salads and pickling.
- Savoy Cabbage: Crinkled leaves, tender texture, ideal for cooking.
- Mini or Baby Cabbage: Smaller heads, perfect for container gardening.
Tip:
Select varieties suited for your climate—cool-season cabbages grow best in mild temperatures.

Step 2: Preparing Cabbage Seeds for Sowing
Cabbage seeds are tiny, so careful handling is important.
Seed Preparation
- Purchase fresh seeds from a reputable source.
- Check the expiration date—old seeds have low germination rates.
- Optionally, soak seeds in water for 4–6 hours to speed up germination.
Step 3: Sowing Cabbage Seeds
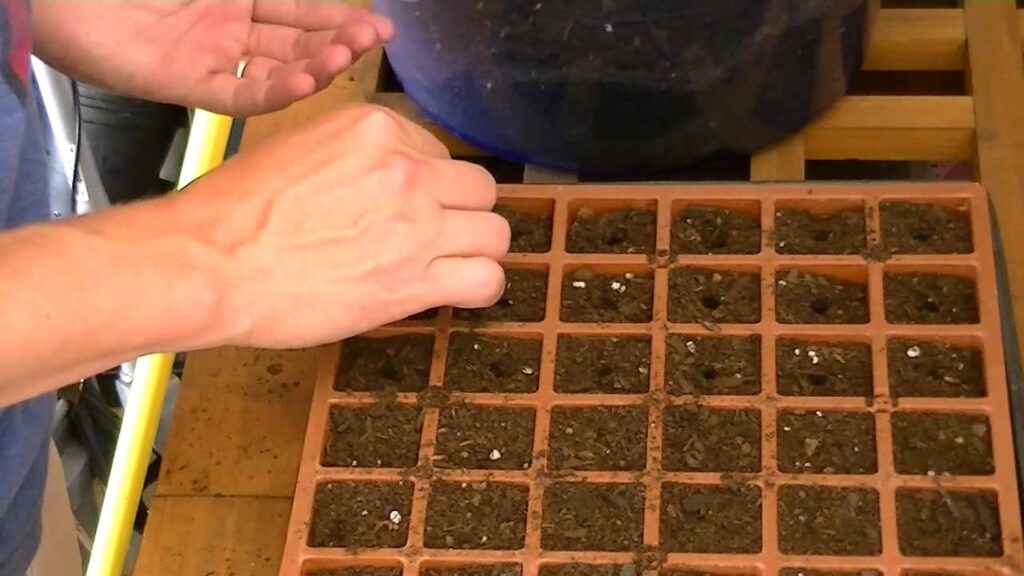
Cabbage seeds are usually started in seed trays, pots, or small containers.
Steps for Sowing
- Fill trays or pots with a well-draining, nutrient-rich seed starting mix.
- Recommended mix: 50% garden soil, 30% compost, 20% cocopeat or sand.
- Moisten the soil lightly.
- Sprinkle seeds evenly on the surface.
- Cover seeds with a thin layer of soil (about 0.5 cm).
- Mist gently with water to avoid washing away seeds.
- Cover trays with a clear plastic lid or plastic wrap to retain humidity.
Germination Tips
- Ideal temperature: 18–24°C.
- Seeds germinate in 5–10 days.
- Keep soil consistently moist but not waterlogged.
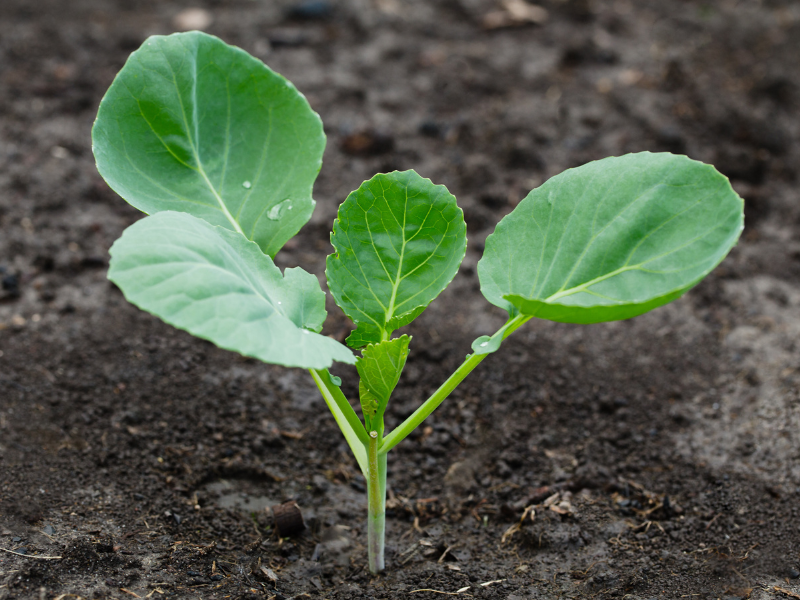
Step 4: Caring for Cabbage Seedlings
After germination, seedlings need proper care to thrive:
✔ Light
- Seedlings require 12–16 hours of bright light daily.
- Use a sunny window, balcony, or grow lights if indoors.
✔ Watering
- Water seedlings lightly every day to keep soil moist.
- Avoid overwatering to prevent damping-off disease.
✔ Thinning
- Once seedlings have 2–3 true leaves, thin them so only the strongest remain in each cell or pot.
✔ Fertilization
- Use a mild, water-soluble fertilizer every 2–3 weeks.
- Avoid strong nitrogen early, which encourages leaf growth but weak roots.
Tip:
Rotate trays or pots daily if indoors to ensure even growth and prevent legginess.

Step 5: Preparing for Transplanting
Seedlings are ready to move to the garden or larger containers when they have 4–5 true leaves and are about 4–6 inches tall.
Preparing the Garden or Container
- Choose a location with full sun, ideally 6–8 hours daily.
- Prepare soil enriched with compost or well-rotted manure.
- Ensure well-draining soil, slightly acidic to neutral (pH 6–7).
- Space plants 12–18 inches apart for medium to large cabbage, and 8–12 inches for mini varieties.
Container Gardening
- Use large pots or growbags (minimum 12 inches deep).
- Ensure adequate drainage holes.
- Fill containers with nutrient-rich soil mix (soil + compost + cocopeat).
Step 6: Transplanting Cabbage Seedlings
Steps to Transplant
- Water seedlings 1–2 hours before transplanting.
- Dig holes slightly larger than the root ball.
- Gently remove seedlings from trays, keeping roots intact.
- Plant seedlings at the same depth they were in the seedling tray.
- Press soil lightly around the roots and water thoroughly.
Aftercare
- Provide shade for 1–2 days if transplanting in hot weather.
- Mulch around the base to retain moisture and prevent weeds.
Step 7: Watering and Fertilization After Transplanting
Cabbage requires consistent moisture for optimal growth:
Watering Tips
- Water deeply 2–3 times a week (more often in hot climates).
- Avoid wetting leaves to prevent fungal diseases.
Fertilization Tips
- Use a balanced fertilizer or compost tea every 3–4 weeks.
- Add potassium for head formation.
- Avoid over-fertilizing, which encourages excessive leaves but weak heads.
Step 8: Pest and Disease Management
Cabbage is prone to some common pests:
Common Pests
- Aphids
- Cabbage worms
- Slugs and snails
Organic Solutions
- Neem oil or insecticidal soap sprays
- Handpick caterpillars
- Use diatomaceous earth or crushed eggshells to deter slugs
Common Diseases
- Black rot: avoid overhead watering
- Downy mildew: ensure good airflow
- Damping-off: occurs in seedlings, prevent with proper drainage
Step 9: Tips for Healthy Head Formation
- Thin overcrowded seedlings to allow proper airflow and sunlight.
- Ensure consistent watering; dry spells can cause heads to split.
- Provide nitrogen early in growth for leaf development, then switch to potassium for head formation.
- Remove damaged or yellowing leaves to maintain plant health.
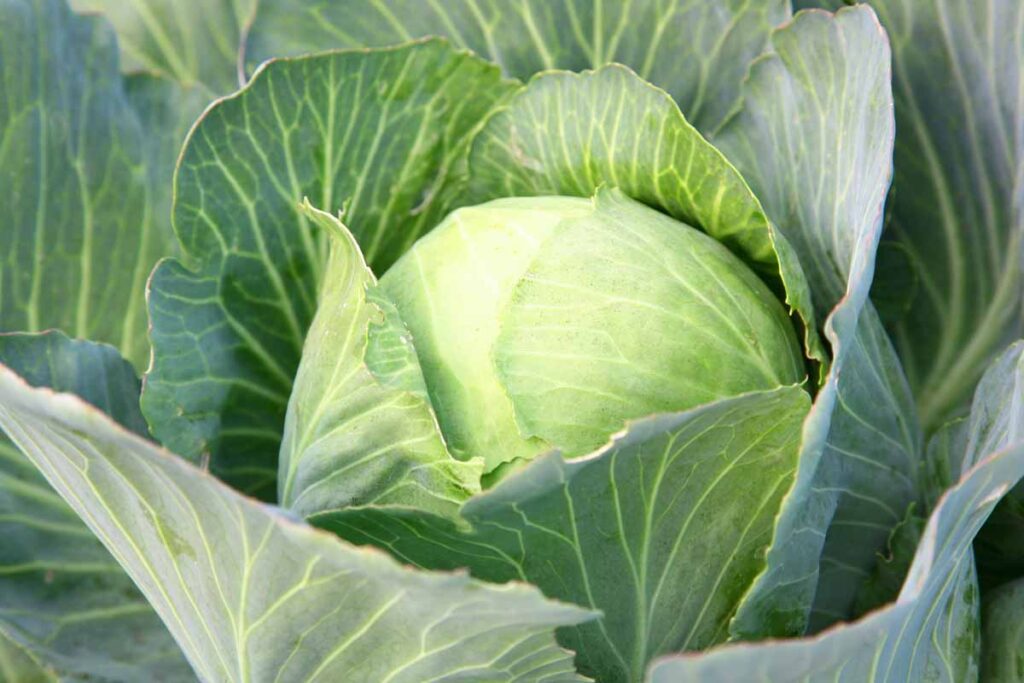
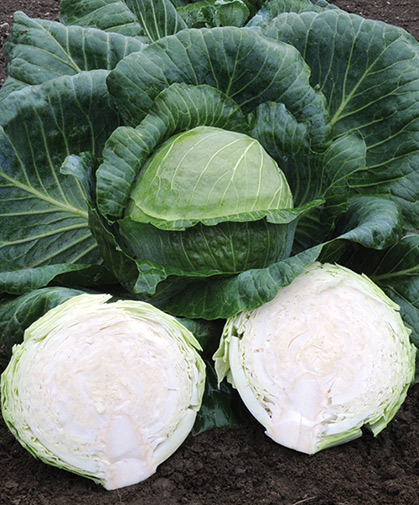
Step 10: Harvesting Cabbage
Cabbage is ready to harvest when:

- Heads are firm and solid when gently squeezed.
- Size depends on variety, typically 6–10 inches in diameter.
Harvesting Technique
- Cut the head at the base using a sharp knife.
- Leave outer leaves for secondary growth or composting.
- Baby or mini cabbages can be harvested earlier for tender leaves.
Storage
- Store in the refrigerator for 1–2 weeks.
- Can also be pickled or fermented for longer storage.
Step 11: Common Mistakes to Avoid
- Overcrowding seedlings
- Overwatering or underwatering
- Neglecting pest management
- Using poor-quality soil or no compost
- Transplanting seedlings too early
Avoiding these mistakes ensures a healthy, high-yielding cabbage crop.
Step 12: Tips for Continuous Harvest
- Stagger seed sowing every 2–3 weeks.
- Use fast-maturing varieties for quicker results.
- Keep garden beds healthy with regular compost addition.
By following these tips, you can enjoy fresh cabbage from your home garden throughout the season.
Conclusion: Grow Your Own Cabbage Easily
Growing cabbage from seed to harvest is an incredibly rewarding process. With the right seedling care, proper transplanting techniques, consistent watering, and pest management, you can enjoy crispy, fresh, and nutritious cabbage right from your home.
Even beginners can succeed with patience, planning, and attention to detail. Whether you’re using garden beds or containers, cabbage is versatile, resilient, and a must-have in any home vegetable garden.