Water spinach, also known as kangkong, morning glory, or Ipomoea aquatica, is a nutritious leafy vegetable widely used in stir-fries, soups, and salads. Loved for its tender stems, lush green leaves, and mild flavor, water spinach is surprisingly easy to grow at home—even if you don’t have a garden.
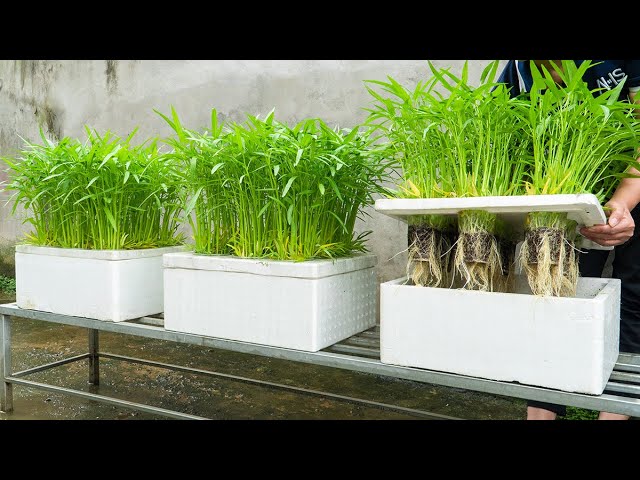
One of the most innovative and sustainable ways to cultivate water spinach is by recycling Styrofoam boxes. These inexpensive, lightweight containers make excellent mini water gardens, allowing you to grow fresh, chemical-free water spinach right on your balcony, terrace, or kitchen.
This guide will walk you through the entire process, from selecting Styrofoam boxes to planting, growing, and harvesting water spinach at home.
1. Why Grow Water Spinach at Home?
Growing water spinach at home has many advantages:
Health Benefits
- Rich in vitamins A, C, and K
- High in iron and calcium
- Excellent source of antioxidants and fiber
Practical Advantages
- Fresh and chemical-free
- Saves money compared to buying from markets
- Available year-round
- Encourages sustainable gardening by recycling containers
Growing water spinach at home also allows you to enjoy the satisfaction of self-sufficiency.

2. Why Use Styrofoam Boxes?
Styrofoam boxes are ideal for home water spinach cultivation because:
- Lightweight and easy to move
- Insulating properties keep water warm and prevent root shock
- Durable and reusable for multiple growing cycles
- Deep enough to hold water and nutrients for optimal growth
Instead of discarding Styrofoam boxes, they can be repurposed into productive, eco-friendly mini gardens.
3. Preparing Your Styrofoam Box for Planting
Step 1: Choose the Right Box
- Medium to large-sized Styrofoam boxes work best
- Depth of at least 15–20 cm to hold water
- Avoid cracked or severely damaged boxes
Step 2: Create Drainage
- Drill or poke small holes on the bottom for excess water drainage
- Optional: Line the bottom with small pebbles to prevent clogging
Step 3: Clean the Box
- Wash thoroughly to remove dust or residues
- Avoid using harsh chemicals that may harm plants
Your Styrofoam box is now ready to become a mini water spinach garden.
4. Choosing Seeds or Cuttings
Water spinach can be propagated by seeds or stem cuttings.
Seeds
- Purchase fresh water spinach seeds from a reputable supplier
- Germination takes 7–10 days in warm, moist conditions
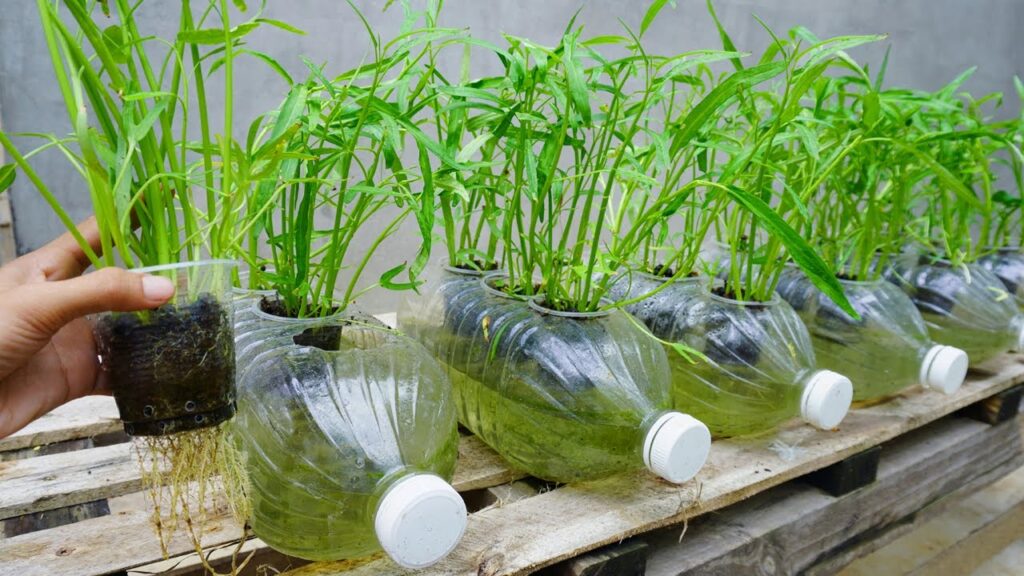
Stem Cuttings
- Select healthy, mature stems from existing plants
- Cut 15–20 cm sections with at least 3–4 nodes
- Remove leaves from the bottom 5 cm to prevent rotting in water
Stem cuttings are faster and easier for beginners—they root quickly and start producing leaves in just a few weeks.

5. Planting Water Spinach in Styrofoam Boxes
Step 1: Prepare the Medium
- Use water with a few drops of organic fertilizer
- Optional: Mix in some garden soil or compost at the bottom for added nutrients
Step 2: Planting Cuttings
- Place stem cuttings horizontally or vertically, with nodes submerged in water
- Space each cutting 5–10 cm apart for optimal growth
Step 3: Planting Seeds
- Fill the box with a thin layer of soil or planting medium
- Sprinkle seeds evenly and cover lightly with soil or vermiculite
- Keep soil moist but not waterlogged
The Styrofoam box acts as a mini hydroponic setup, supplying water and nutrients to the growing plants.
6. Caring for Your Water Spinach
Water spinach is low-maintenance but thrives with proper care.
Sunlight
- Requires 4–6 hours of sunlight daily
- In hot climates, provide partial shade during peak afternoon hours
Watering
- Keep the box partially filled with water, covering the roots but not submerging the leaves
- Change water every 3–4 days to prevent stagnation
- Add organic liquid fertilizer every 1–2 weeks to boost growth
Temperature
- Prefers 20–30°C (68–86°F)
- Protect from frost or extreme heat
7. Encouraging Fast, Healthy Growth
For chubby, vibrant water spinach:
- Use nutrient-rich water: Add diluted compost tea or liquid organic fertilizers.
- Maintain optimal spacing: Crowded plants grow slowly and compete for nutrients.
- Pinch tips regularly: Promotes bushy growth and multiple stems.
- Remove yellow or damaged leaves: Keeps plants healthy and encourages new growth.
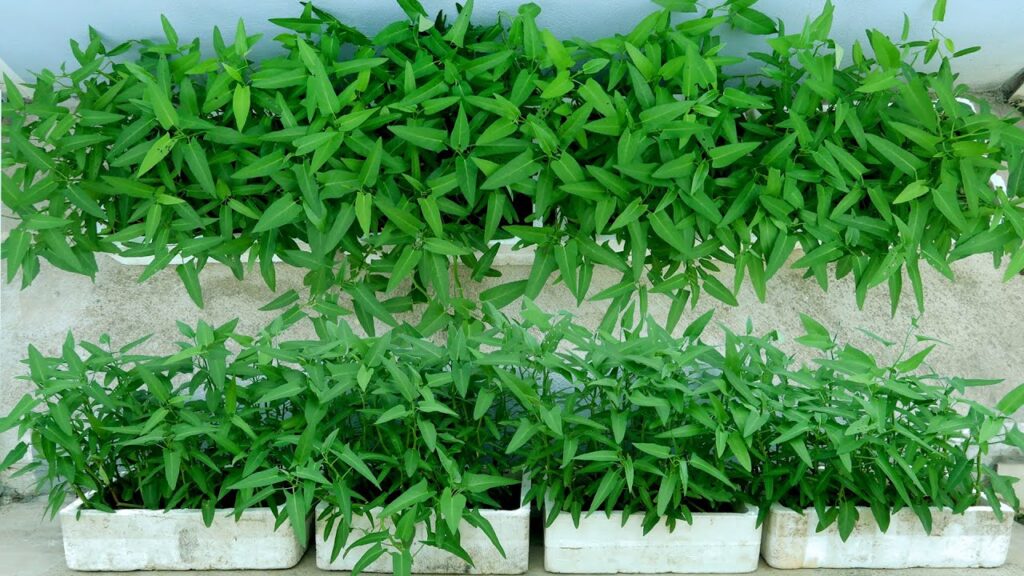
With proper care, water spinach grows quickly, producing tender leaves and stems in 3–4 weeks from cuttings.
8. Harvesting Your Water Spinach
Water spinach is ready to harvest when stems are 15–20 cm long and leaves are lush and green.

Harvesting Tips
- Cut stems just above the water line to allow regrowth
- For continuous harvest, trim selectively instead of uprooting all plants
- Harvest early in the morning for the freshest taste
A single Styrofoam box can provide multiple harvests over several months, especially when maintained properly.
9. Preventing Pests and Diseases

Even in a container, water spinach can face minor pest issues.
Common Pests
- Aphids
- Leaf miners
- Snails
Prevention Methods
- Spray a mild neem oil solution weekly
- Remove infested leaves promptly
- Keep water clean and prevent stagnant conditions
Healthy, well-maintained plants are more resistant to pests and produce better yields.
10. Reusing Styrofoam Boxes for Sustainability
One of the best parts about this method is sustainability.
- Reuse boxes: Wash thoroughly and refill with water and nutrients for the next batch
- Recycle old boxes: Avoid landfill waste and reduce environmental impact
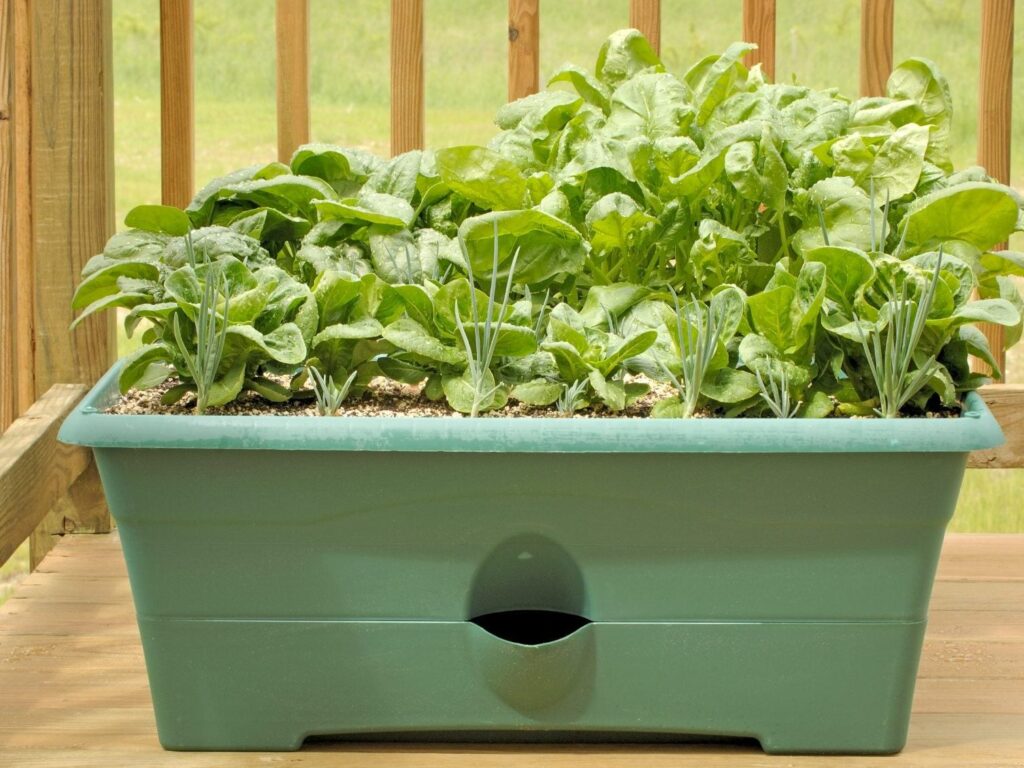
- Experiment with other vegetables: Lettuce, spinach, and herbs also thrive in Styrofoam containers
This approach combines urban gardening with eco-conscious living, making it both productive and responsible.

11. Delicious Ways to Use Homegrown Water Spinach
Freshly harvested water spinach can be used in various dishes:
- Stir-fried with garlic and soy sauce
- Added to soups or broths
- Tossed in salads
- Cooked with shrimp, tofu, or meat
- Used in traditional dishes like Adobong Kangkong or Thai stir-fries
Homegrown water spinach is tender, flavorful, and free from harmful chemicals.
12. Tips for Continuous Growth
- Succession planting: Plant new cuttings every 2–3 weeks for a constant supply
- Proper pruning: Prevents overcrowding and encourages bushy growth
- Monitor water levels: Maintain a consistent water environment for roots
- Sunlight rotation: Move boxes to ensure all plants receive adequate light
With these tips, your Styrofoam garden will remain productive throughout the year.
13. Common Mistakes to Avoid
- Overcrowding cuttings: Leads to slow growth and weak stems
- Water stagnation: Can cause root rot and foul odor
- Insufficient sunlight: Results in leggy plants and slow growth
- Neglecting nutrients: Plants may become pale or underdeveloped
By avoiding these mistakes, your water spinach will thrive and grow fast.
14. Final Thoughts
Recycling Styrofoam boxes to grow water spinach is easy, eco-friendly, and rewarding. This method is perfect for urban gardeners, small-space growers, or anyone looking to enjoy fresh, nutritious vegetables year-round.

With minimal effort, you can turn discarded boxes into lush, productive mini gardens, producing plump, tender stems and vibrant green leaves that elevate your meals.
Start today, and enjoy the satisfaction of growing your own water spinach at home while contributing to a greener, more sustainable environment.